
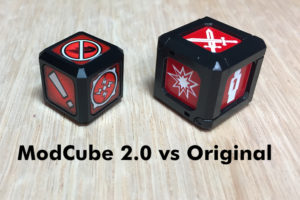
I love gaming accessories. The little doodads that fulfill some sort of niche of a niche market. That token, measuring gauge, dial, all of it. The best part is seeing what other folks come up with to meet their own personal needs. Occasionally, someone comes up with an idea that the rest of the gaming community finds wonderfully useful. Today, I wanted to look at one of those things. Namely, the ModCube.
Back in 2015, ModCube found its way onto Kickstarter and had a successful launch. They quickly found their way into the hearts and minds of various users. Even to the point of being nominated for Best Gaming Accessory of 2015 from Beasts of War.
Unfortunately, if you are interested in getting your hands on some of these things, you’re going to have to wait until they get around to launching their second iteration via Kickstarter sometime in 2018.
So let’s do something many gamers enjoy. We’ll make our own.
Step 01: Get some art
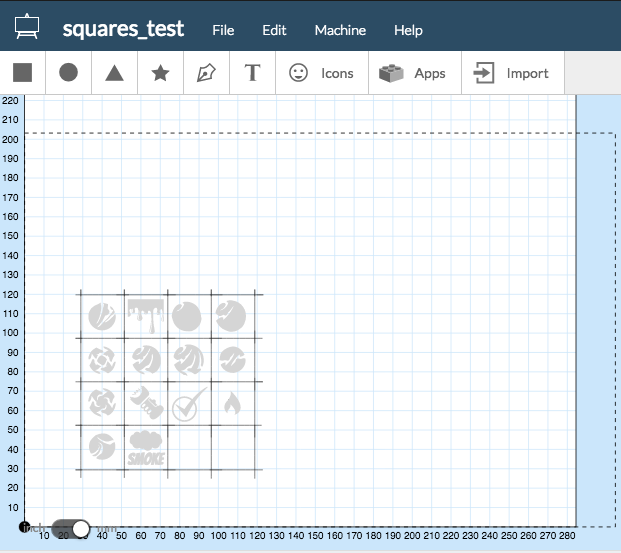
Luckily for us, ModCube recommends a good place to start. Game-Icons.net, http://game-icons.net/, offers free vector graphics that are explicitly meant to be used for gaming tokens. You can also dig around online and find other icons or items to be used. If you are feeling adventurous, you can use something like Vector Magic to convert some raster images to vector images that we can use. I did this for the tokens below that are from the game Confrontation.
I wanted to use vector graphics so that I could scale them as necessary without distorting the image. It also helps when you send it to whatever cutting tool you use.
Step 02: Cut it all out
I went down to my local makerspace to do the heavy lifting here. I used a Carvey CNC Router available in the space to make my cuts. I chose some acrylic because it will allow me to do a shallow cut and give some different texture or color to the tokens.
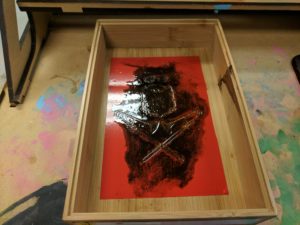
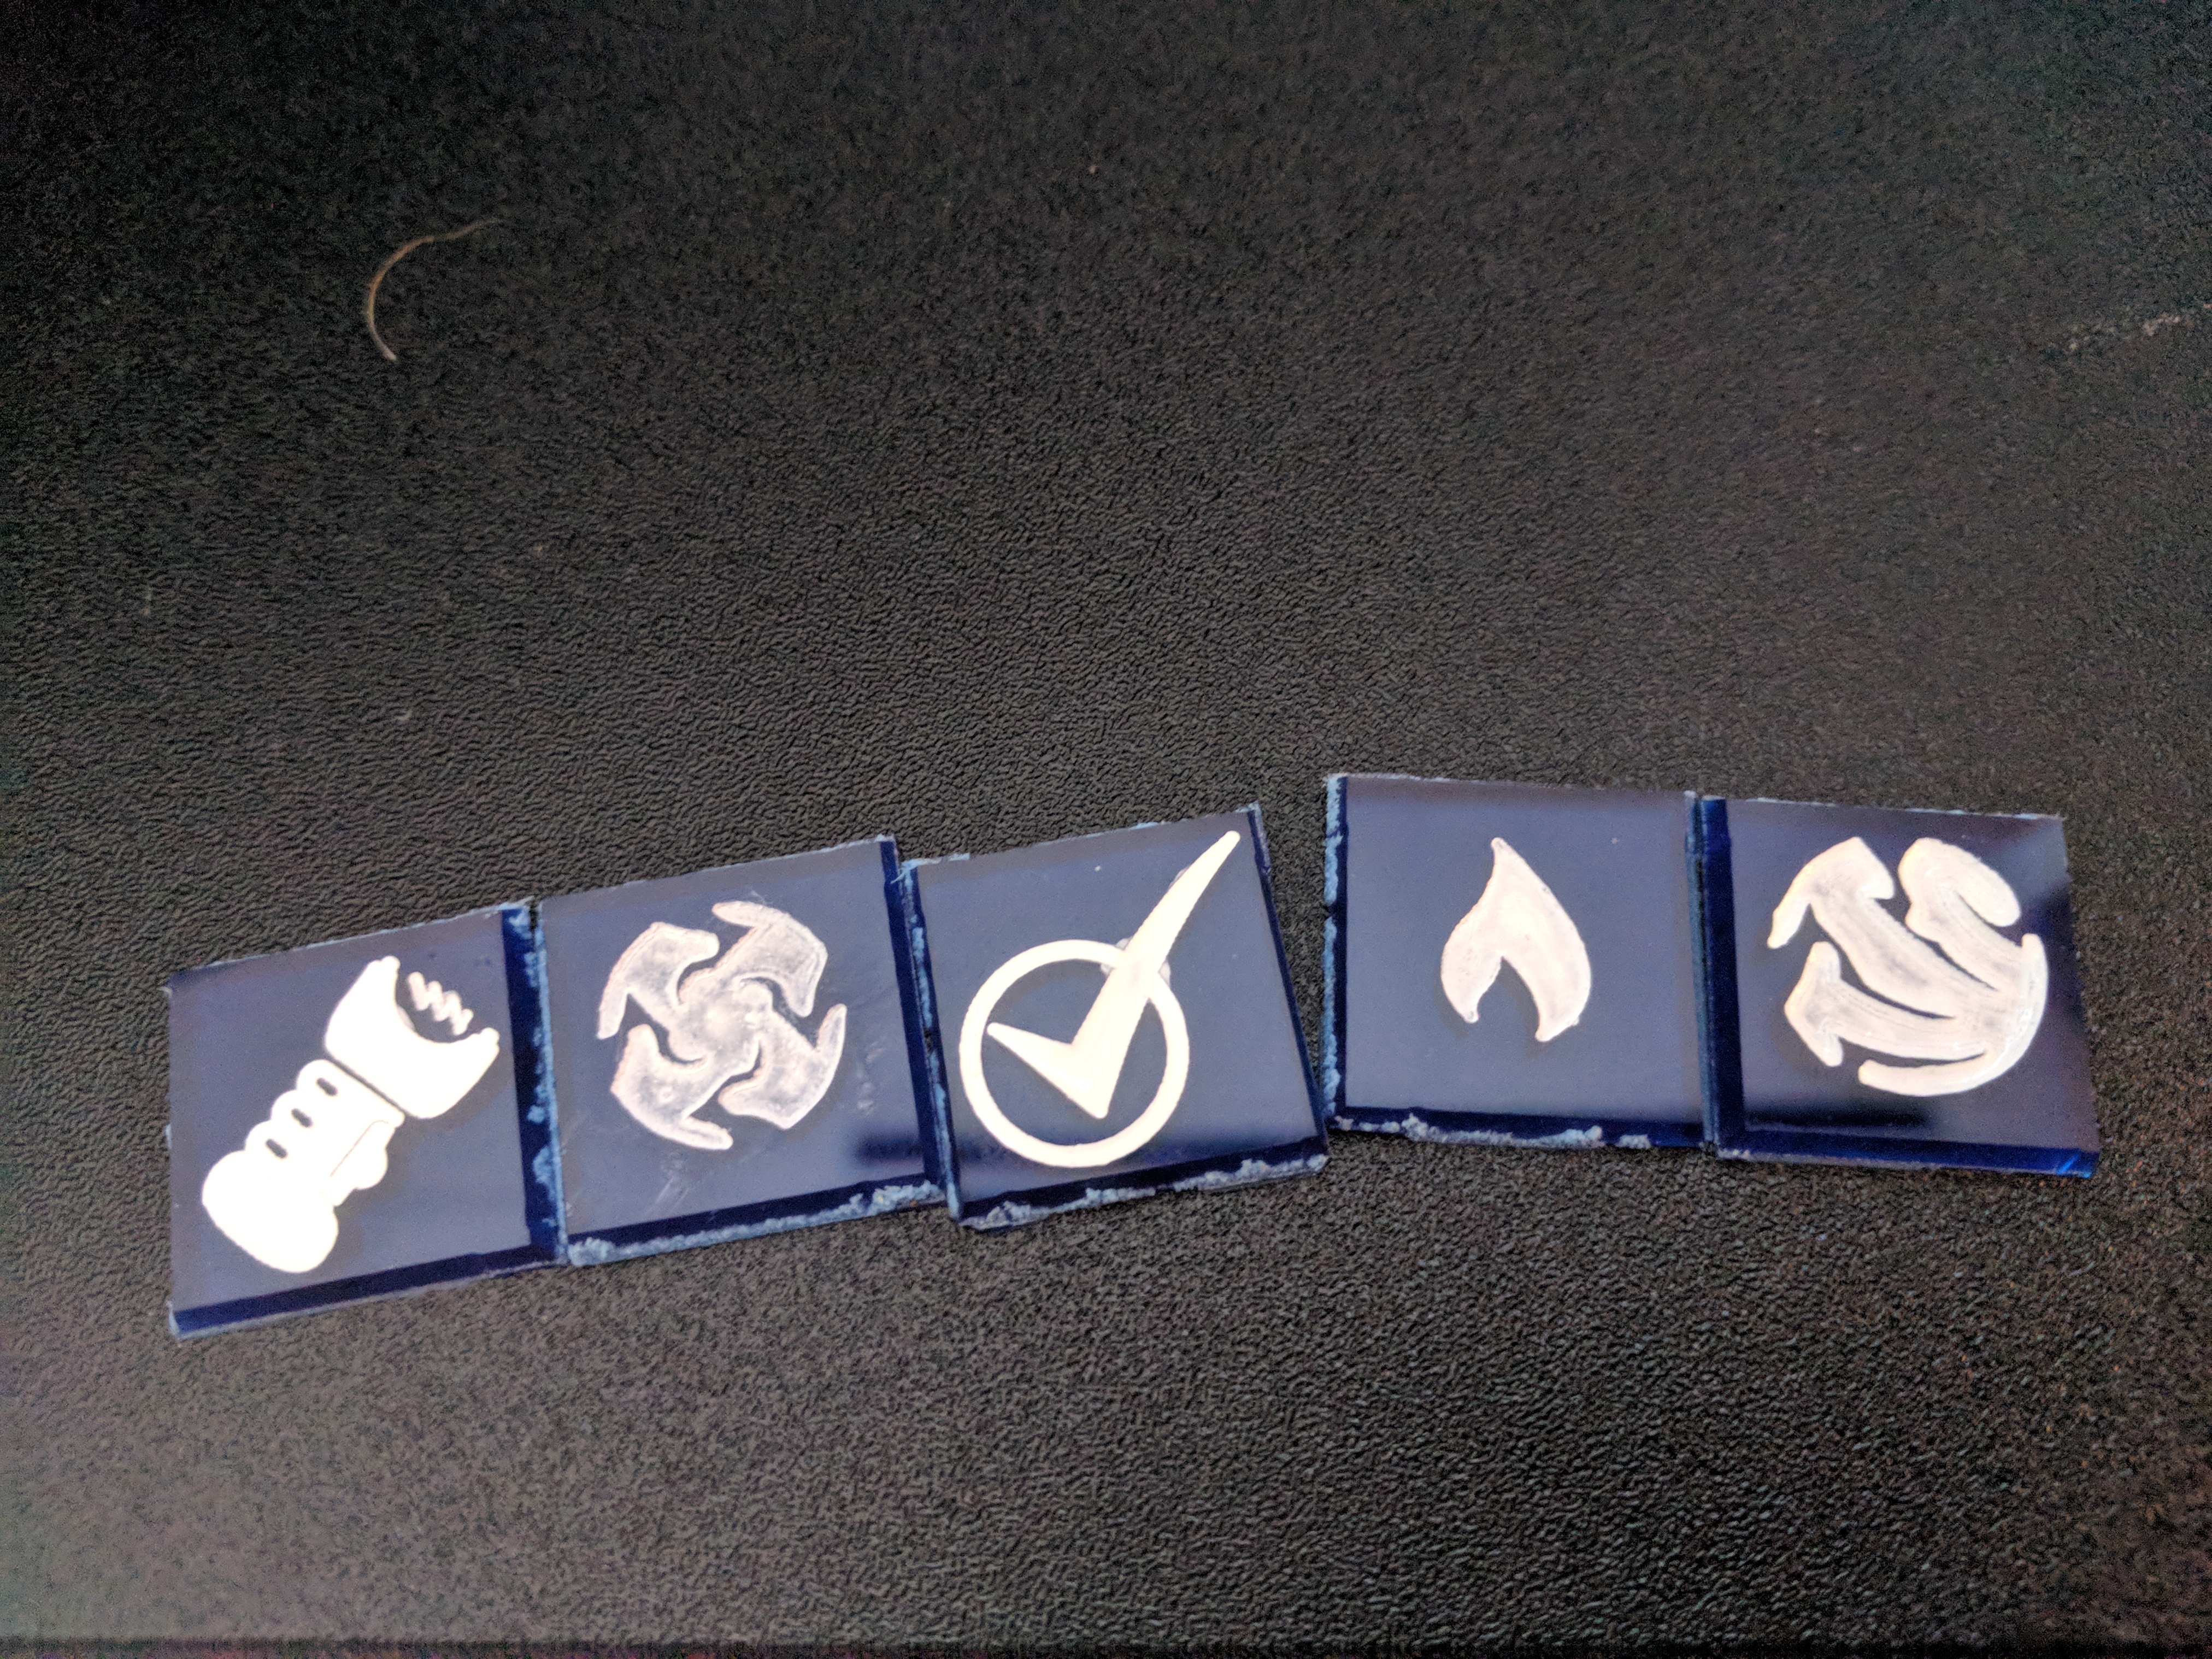
Here, you can see the tokens after they have been cut, just after I’ve given them a quick rinse in some water, and before I’ve really cleaned them up.
Step 03: Make them pop
This step might not be necessary depending on your material and cutting method. For example, my next attempt at this, I’ll use some material that is two-tone and wouldn’t require a filler.
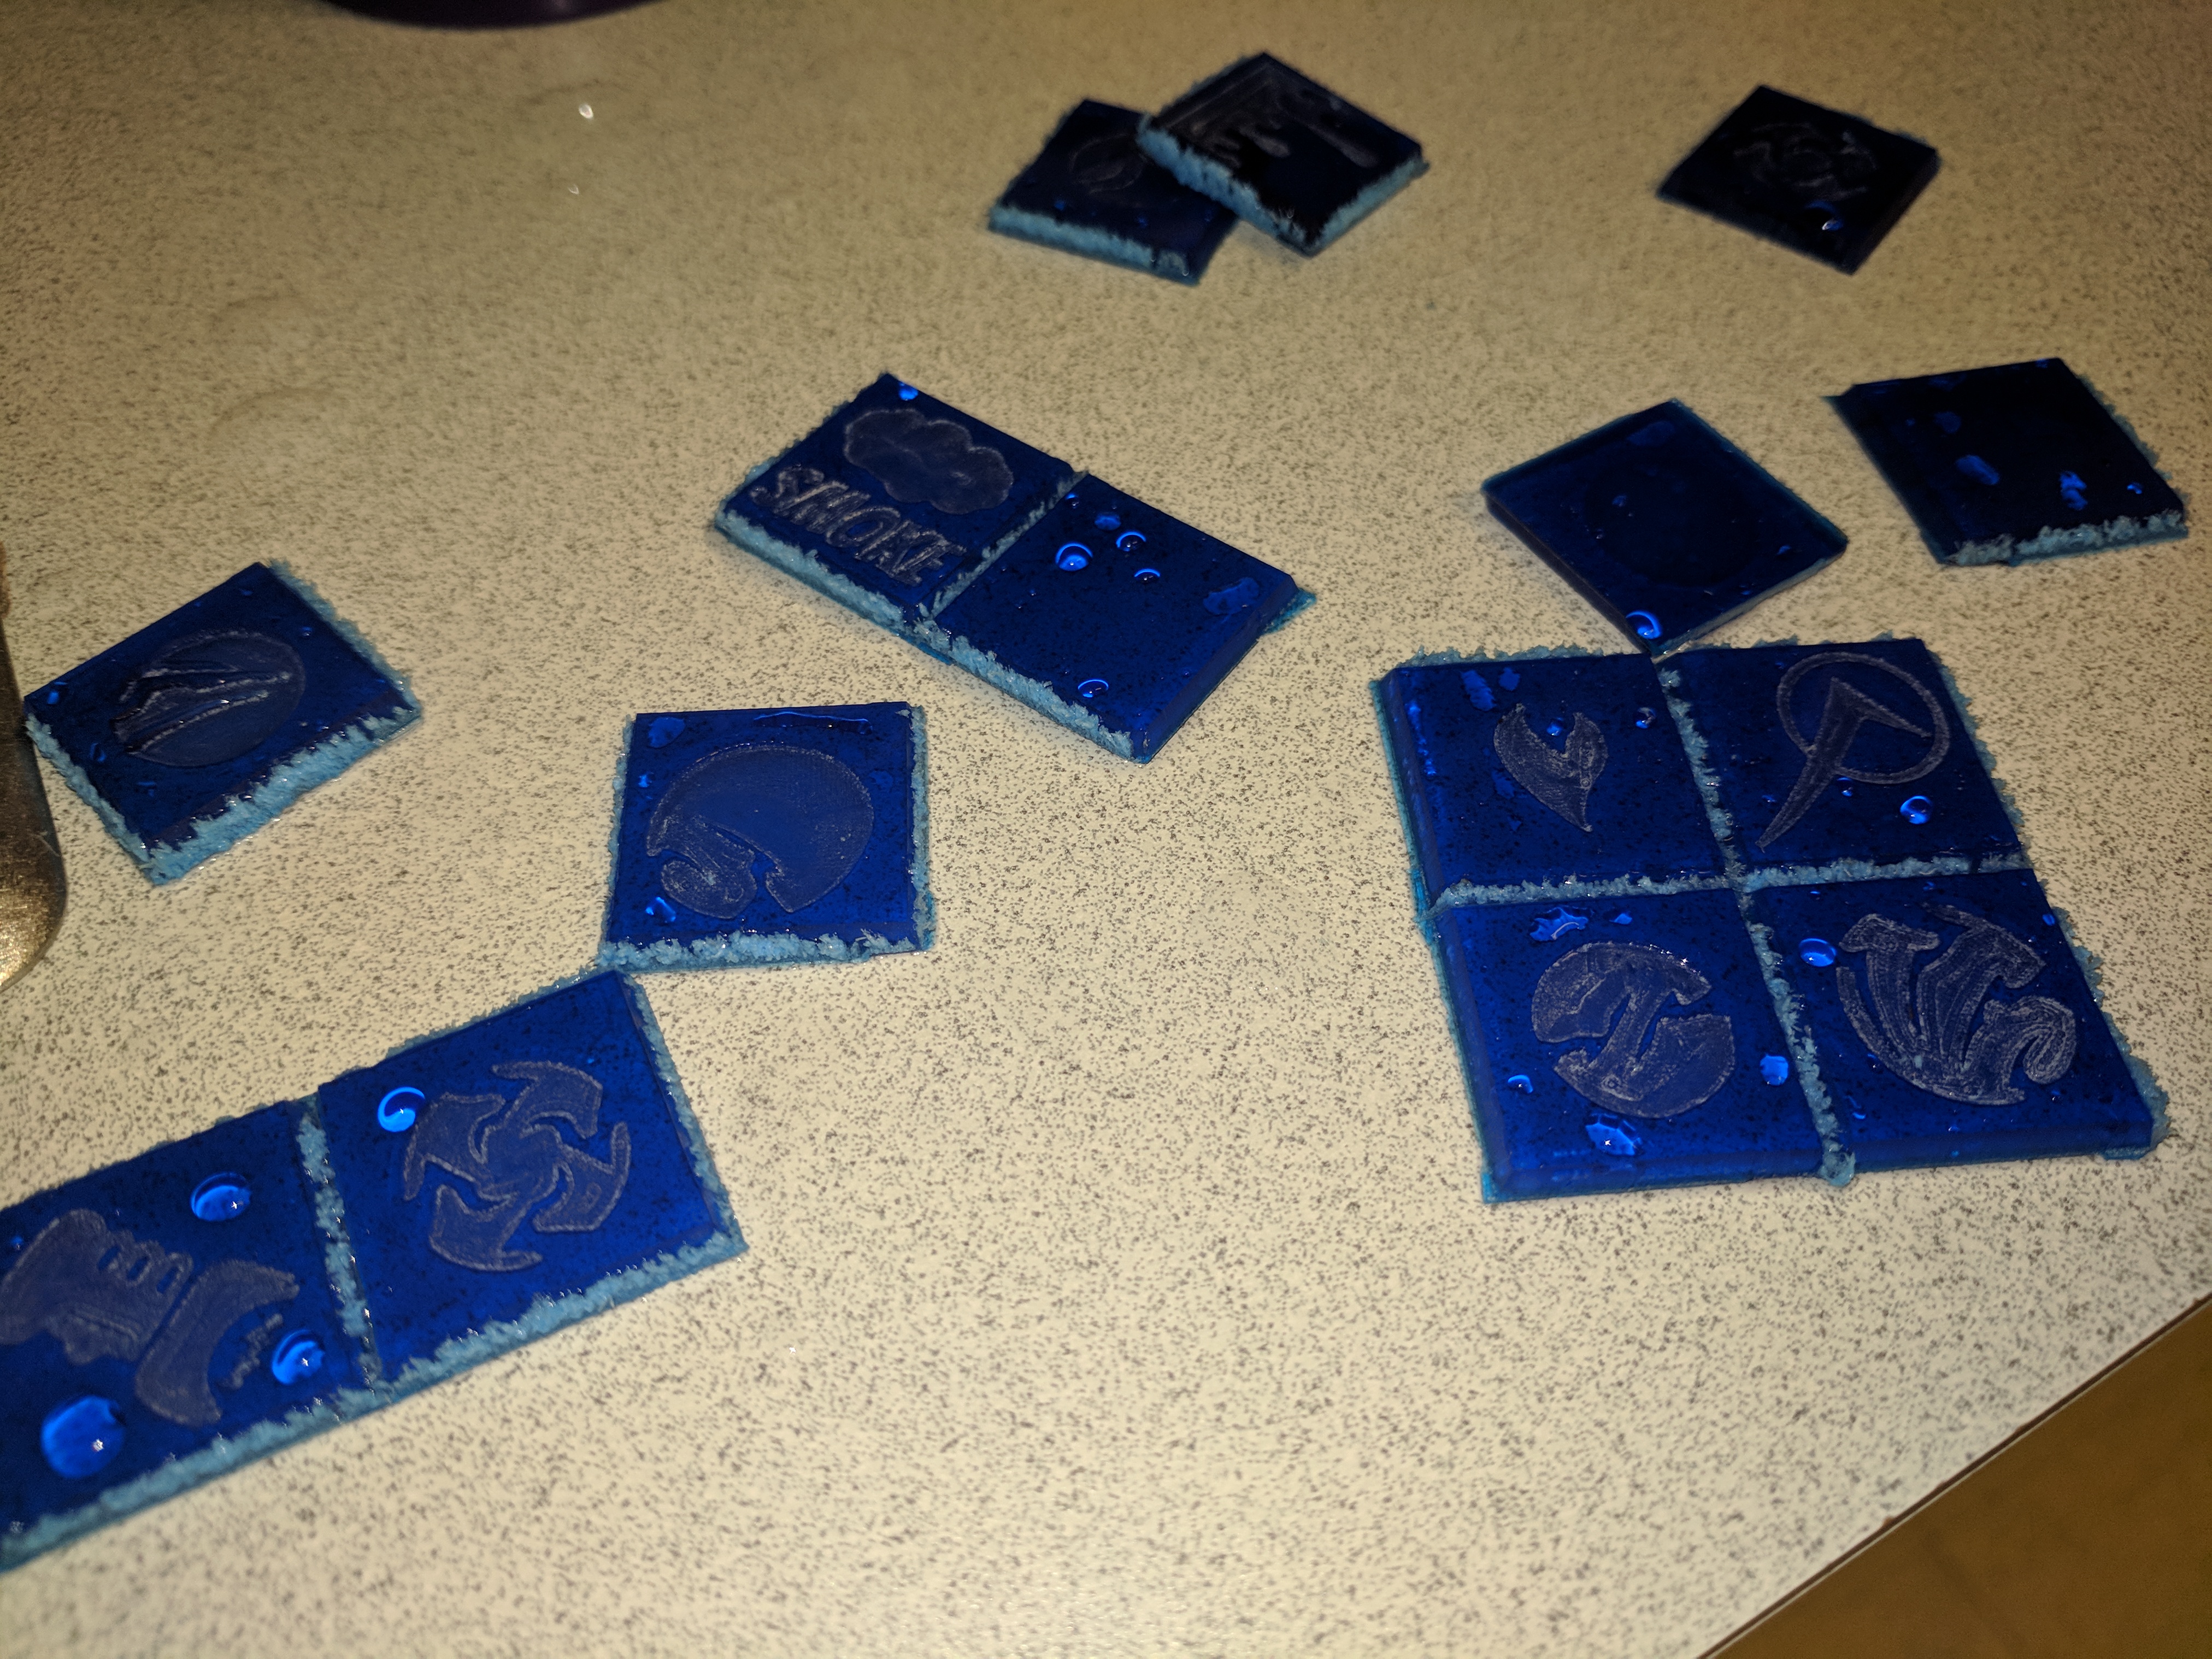
To help make the icons stand out and be distinct, I applied some white paint. This was important for this set since the Confrontation tokens have some very minor differences. In addition, I made my cuts a little too deep, which ate away at some of the detail unnecessarily. That’ll teach me to program the wrong bit.
Step 04: Design the cube
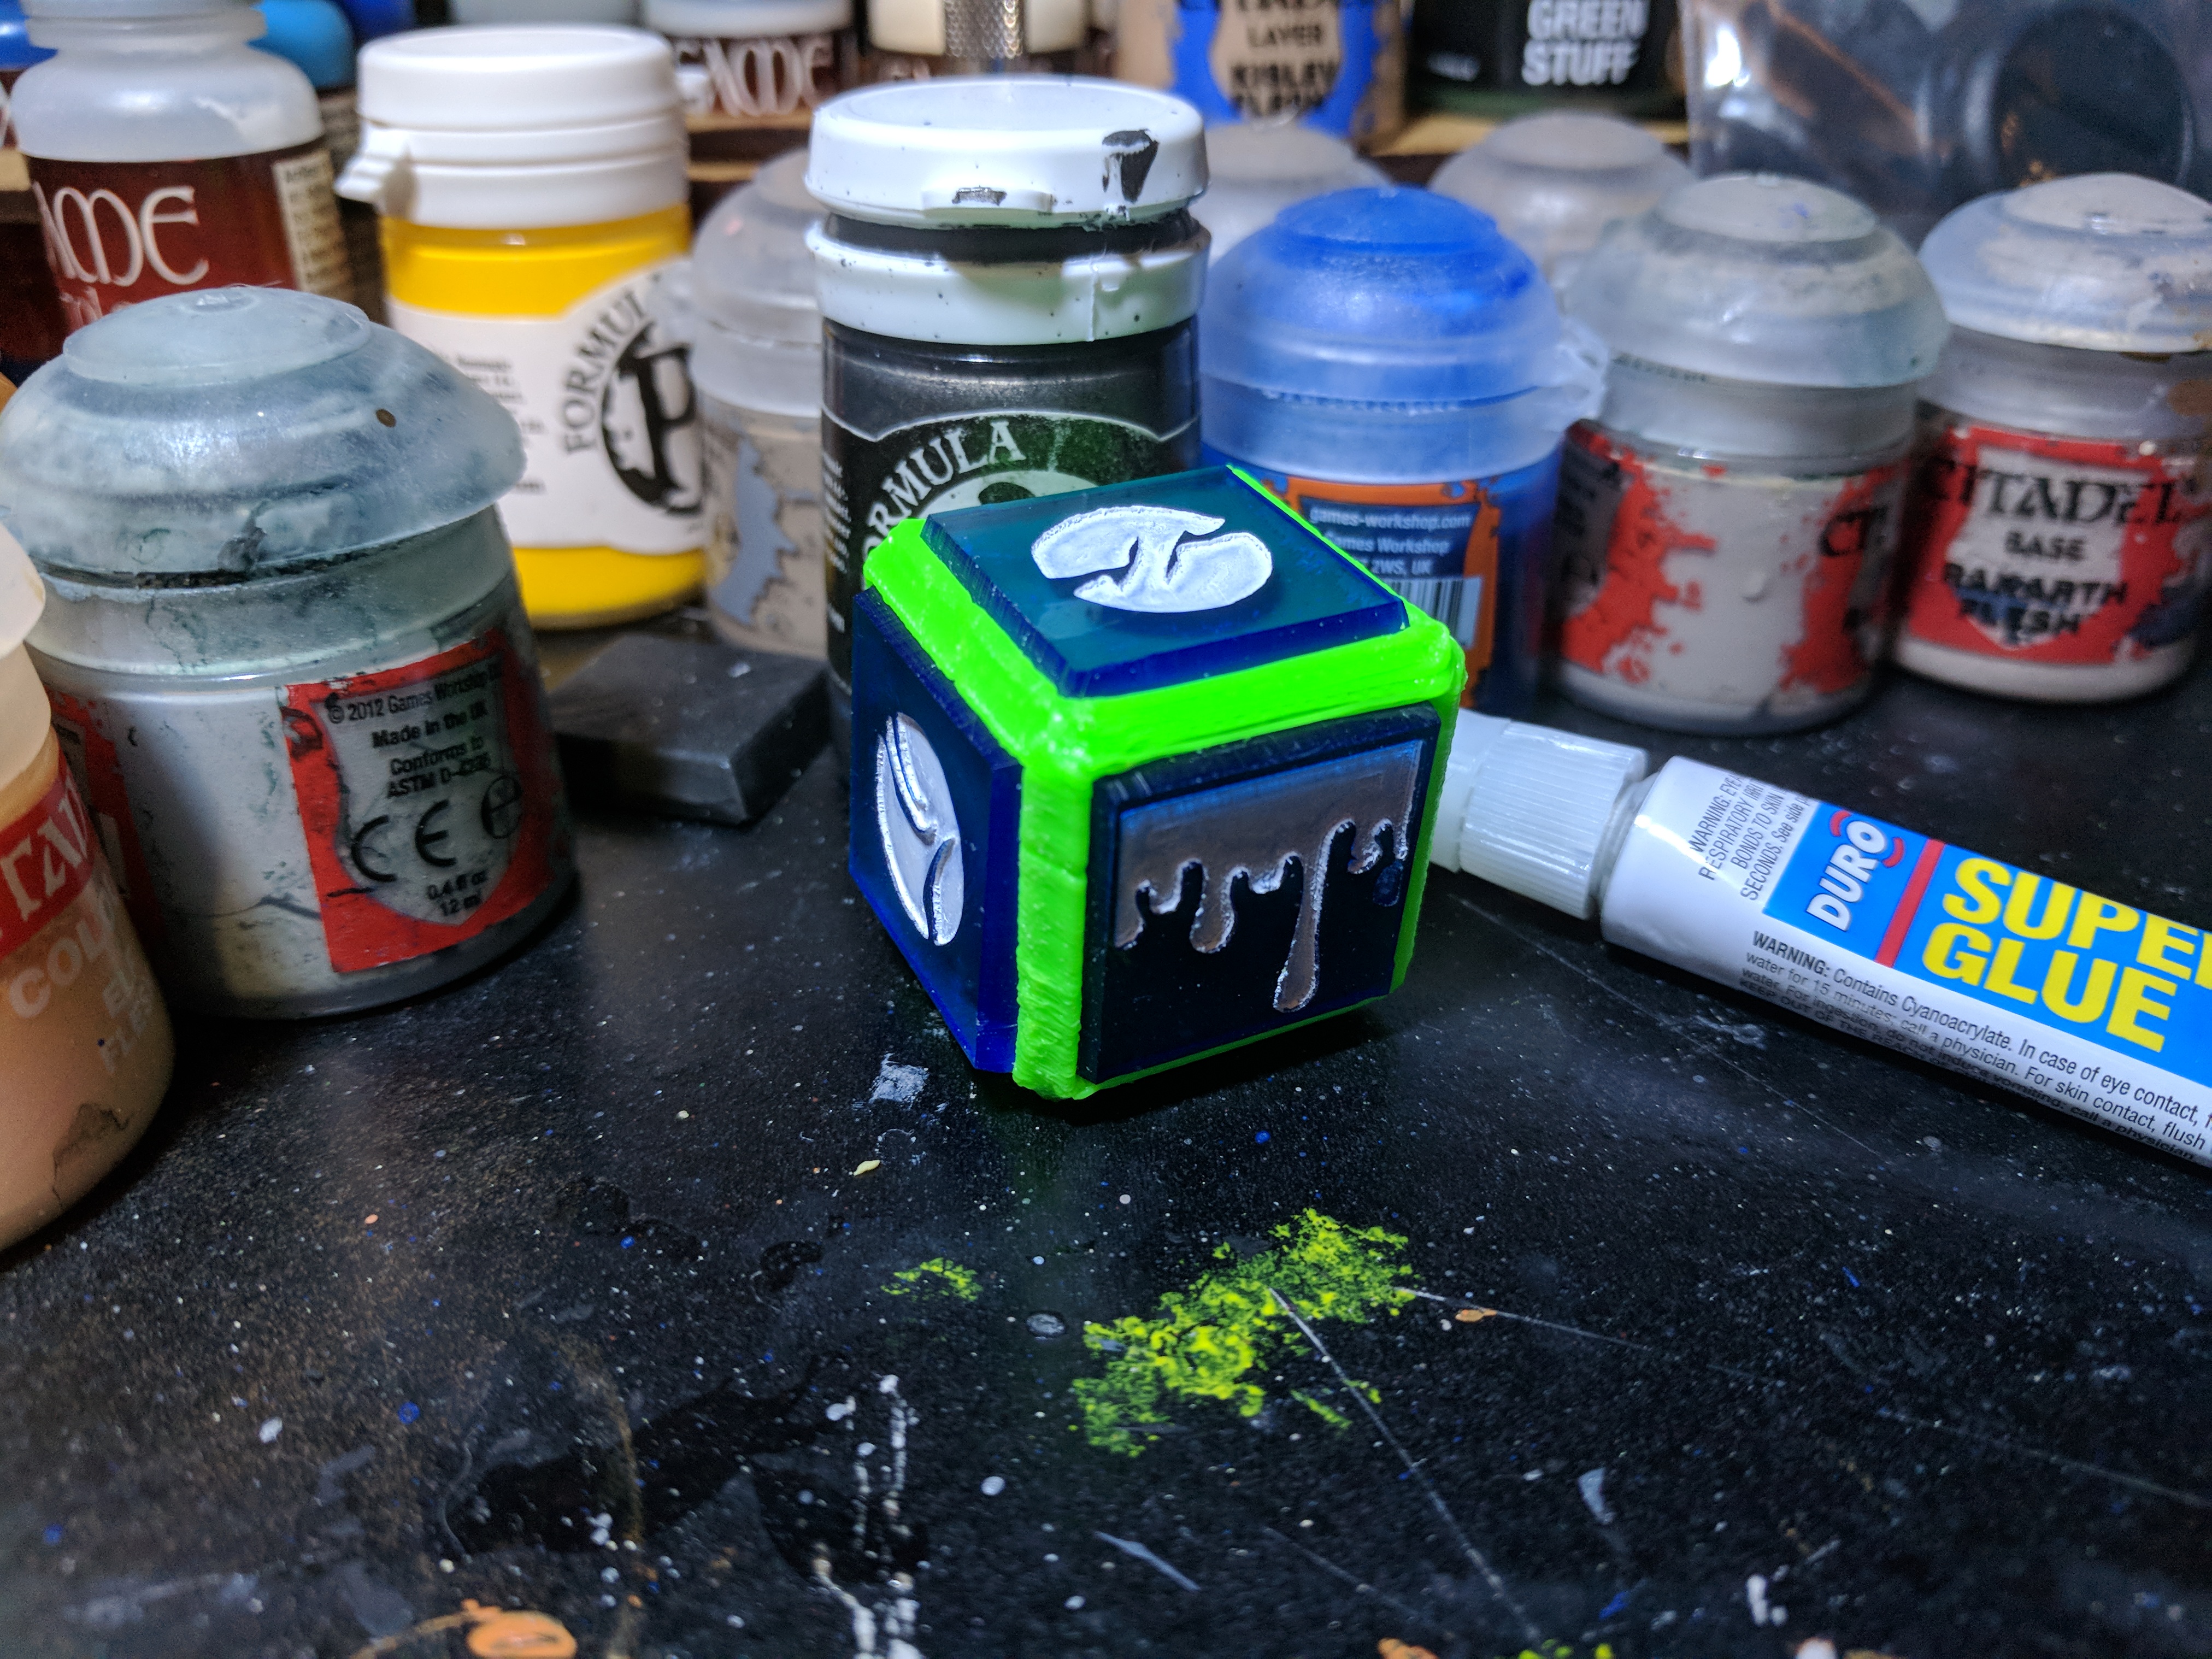
Now I needed a thing to put the tokens into. I verified my measurements and spent an afternoon designing one in OnShape.com’s online design platform. Since I’m modeling this off of the ModCube platform, I made it a cube. This isn’t going to be modular and hot-swappable like the official system, that’s a feature for another day.
Step 05: Print the cube and put it together

I use a FDM 3D printer in my local makerspace to print off the cube in ABS plastic. I could have used PLA, but the ABS was already loaded and ready to go. Always count on gamer laziness.
You can see some bad areas. I wouldn’t consider this a great print. Acceptable for a test print, but I would definitely do this again for a final product.
Conclusions:
Overall, I think this could work for my needs. It’s a little larger than I wanted it to be. I think I might scale it down a bit on the next run. Also, I would definitely use a laser to cut it. It would require less cleanup and effort that way. Lastly, some two-tone acrylic would remove the paint requirement.
Or I could wait patiently until the official product comes back. I don’t need the fancy magnet swap aspect on the v2 ModCube, but the time (3-4 hours) and money ($10USD) spent making my own might outweigh the cost of the official product. Not to mention I didn’t make my modular, if you like that kind of thing. Not all things are meant to be DIY.
*A link to the cube file I made will be made available later. Right now my browser isn’t playing nicely for me to get a fresh copy.