There are many dice bins, but this one is mine.

finished dice box

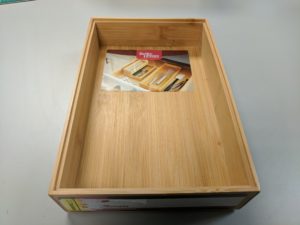
While browsing the dark aisles of a local box store, I happen to come upon a clearance item that screamed “dice box”. For $3.50 USD, I had to do it. I could have left it as is and been about my business, but that isn’t very fun. So here’s what I did to customize it and make it my own:

Das Box


Step 01: Come up with your design.

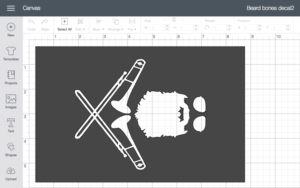
In this situation, I went over to my local makerspace to take advantage of their Cricut die-cutter and some vinyl. I did this because I can’t draw worth squat and I wanted as clean of a logo as I could get for my dice bin. I used the Cricut software (free) to create my design and used the equipment there to cut it in vinyl. The vinyl allows me to apply the design to the bin without it sliding around or having to draw or tape it off. I can remove the vinyl later.


Step 02: Apply your design

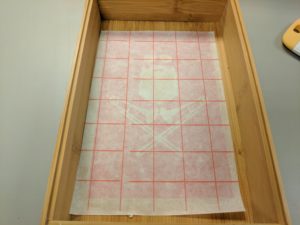
I’ve cut out a reverse image for my design to create a template. Here, I’m applying the template the same way I would put the decal on the back of a laptop or car window. Nothing special.


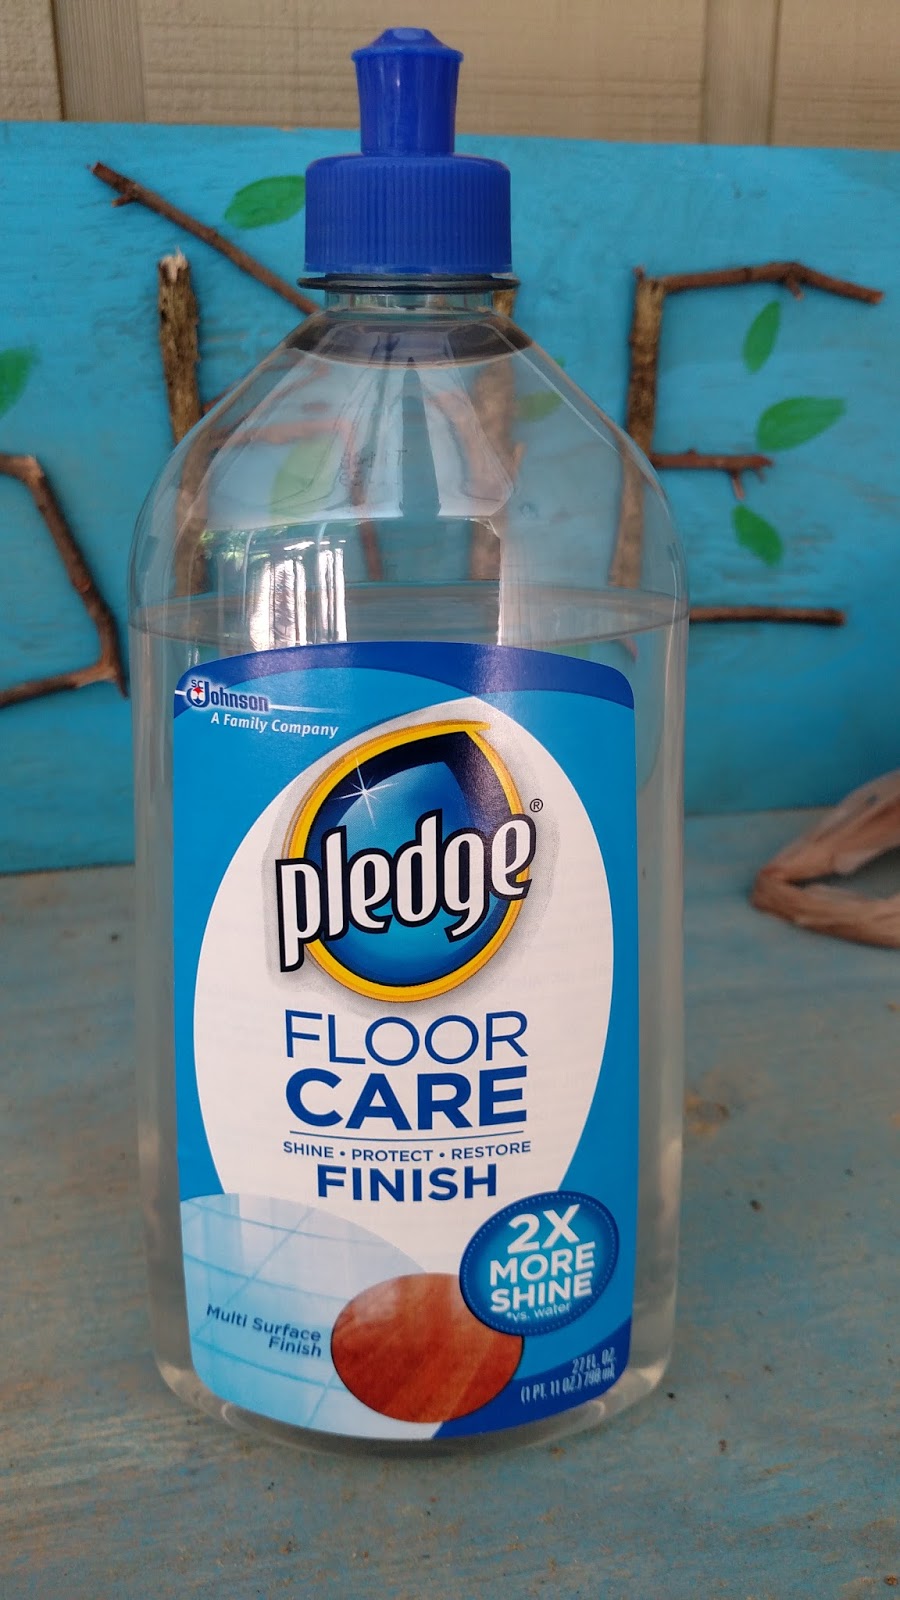
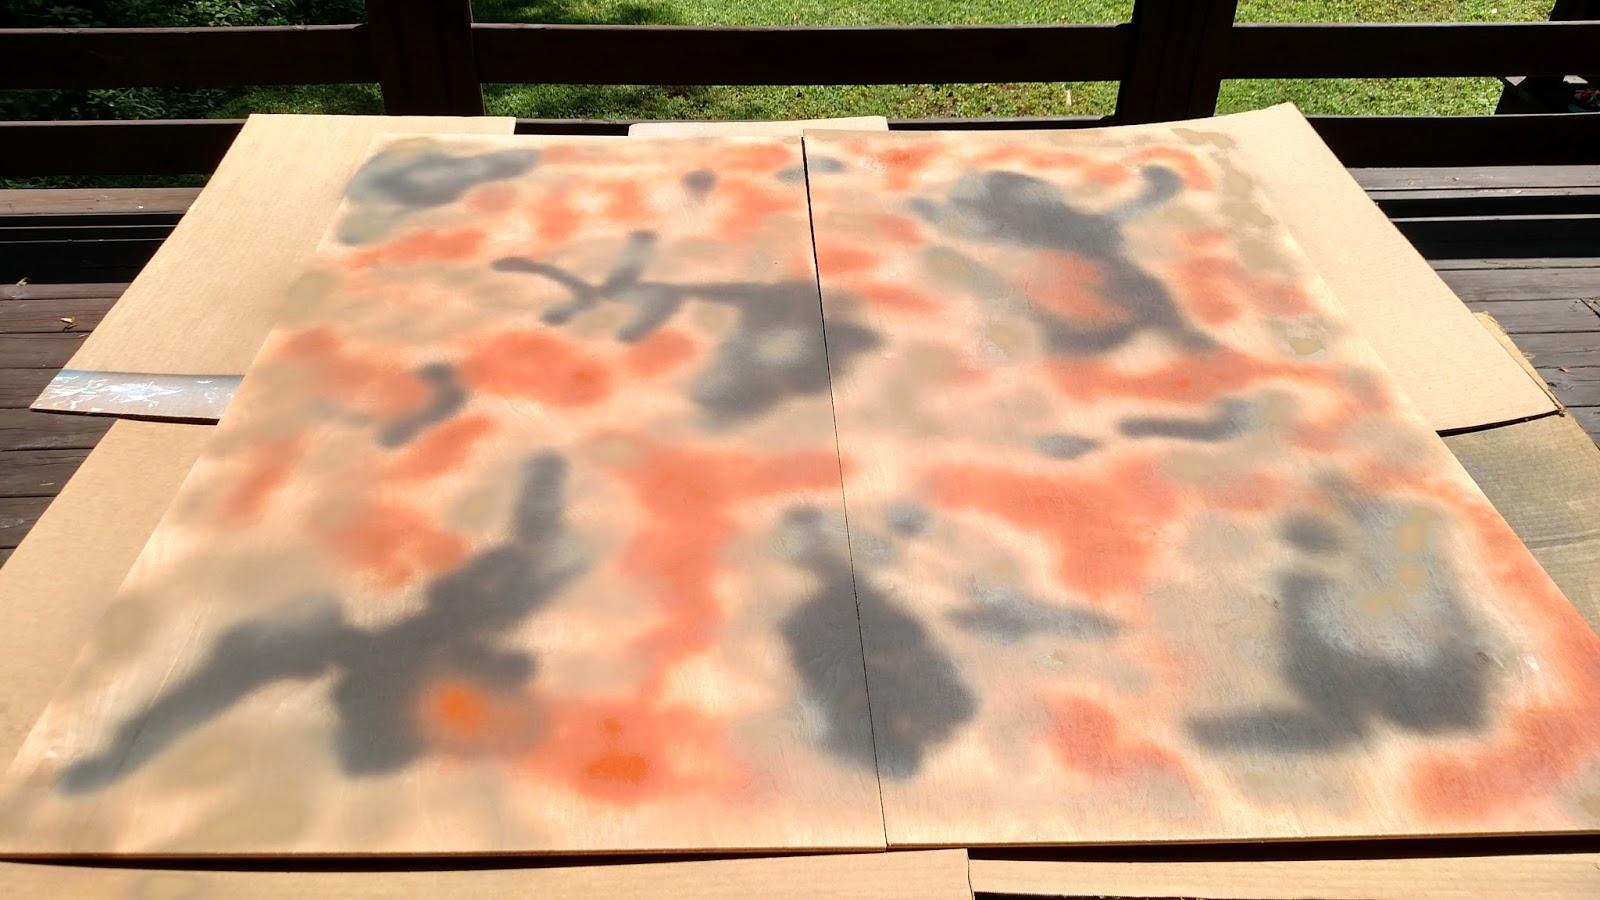
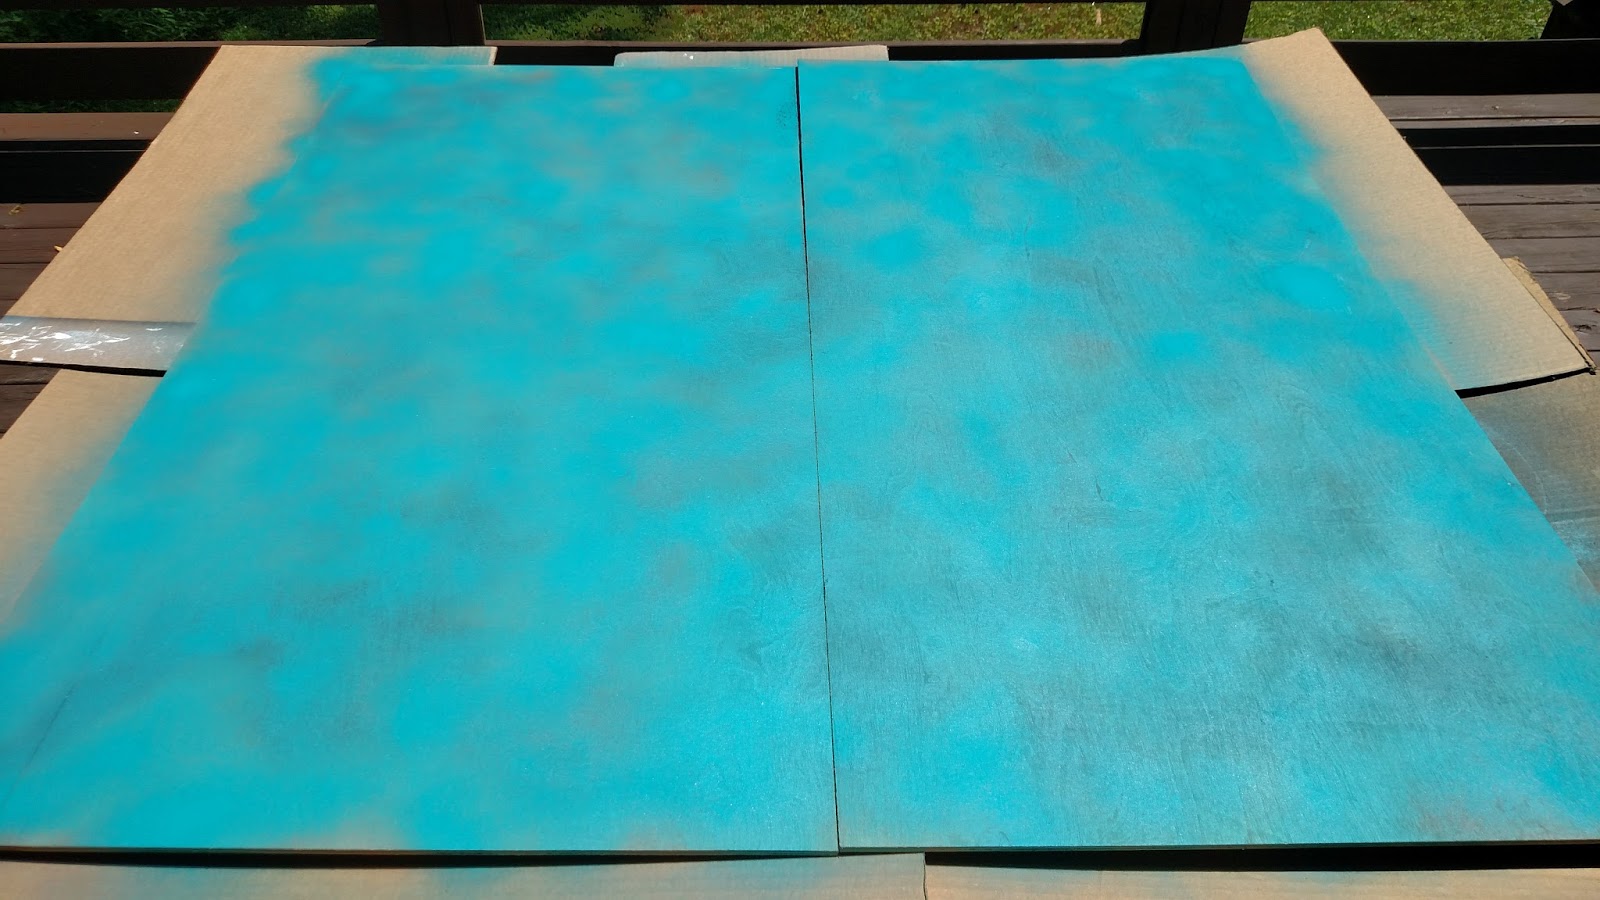
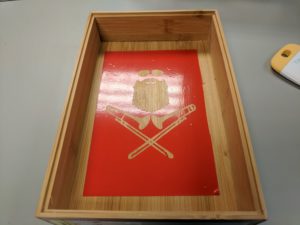
Step 03: Make it shine!

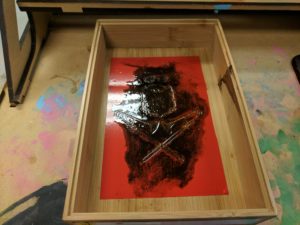
I applied some wood-stain to try to give my dice box a more sophisticated look. Plus if this fails miserably, I can just paint over it. You can see the right side got some stain spilled on the wall. I’ll probably paint the walls to give contrast and hide my shame.


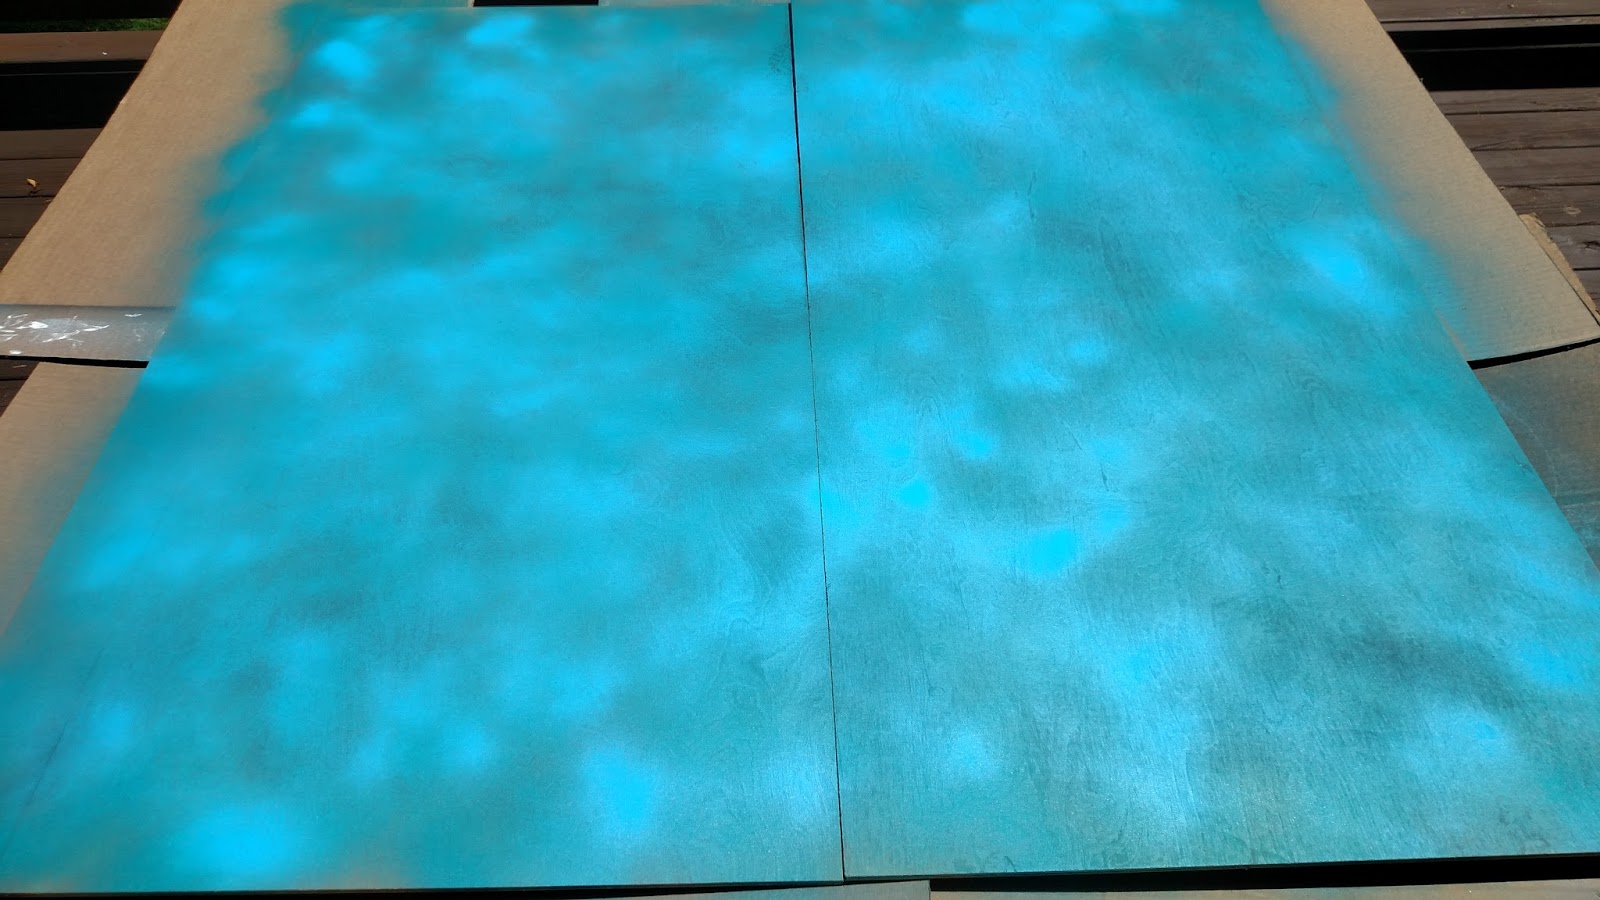
Step 04: Remove the vinyl and see what needs fixing

Well, I forgot to get a photo of this step. I removed the vinyl and I was pleased overall. My application of the stain was poor. I did not do multiple coats. I did not sand anything down. I played it on pretty thick. So my inner craftsman isn’t speaking to me anymore. But it looks ok and I’m willing to accept it as a first attempt at this kind of project.


Step 05: Finishing touches and sealing

finished dice box

I painted the edges to cover where the stain touched things by accident. Just a couple coats of some black paint. I think it also helps highlight or frame things. Close up, it probably needs another coat or two, has some hiccups and blemishes that could be sanded away. From 3 feet away or further, I think it works. Again, first attempt at this kind of thing. I’ve definitely learned some ways I would improve when I do it again.

I applied a spray varnish on it. The same matte finish stuff I use for miniatures. I’m hoping that helps protect the absurdly applied stain from getting damaged from any dice rattling around in there.


Final thoughts

As I said, I made some mistakes. My stain application was poorly done. I had some stain hit areas I didn’t want it to. I should have taped things off. The thinner areas of vinyl didn’t stick to the wood very well and allowed stain to get under them. I should have sanded this. Maybe a few other things as well. Overall though, I’m pleased. I think this will be a fine dice box. On the next version, or even on this one after the fact, I might add a thin layer of foam or rubber on the back to help reduce the hollow noise when rolling dice in there. Right now it kind of sounds like someone rolling on a Realm of Battle board. Not sure how I feel about that yet. Having spent about $3 for the box, $2 for vinyl at my local makerspace, and using some leftover stain and paint I had laying around at home, I’m fairly pleased.

Facebooktwittergoogle_plusredditpinterestmail

Tales of the Lost Isles

There are a few words in the English language that always throw me for a loop. I just look at them, and it takes me a few seconds to fully process what the word means, how it is pronounced, and how to leverage it. I suspect this is because I tend to read words to myself with an inner voice; that is, I say the word in my mind as I read it. “Apotheosis” and “conscious” are examples of this. Even when the concepts are simple, or the words are common, it’s just a relationship I have with language that I find myself paying special attention to certain words.

I suppose being harassed about your accent as a child will do that to you. When you’re the only one from the hills of Tennessee in your family, people tend to point out your pronunciation. Something else about Tennessee is that you don’t have many island chains, so you don’t really get the opportunity to say the word “archipelago” in common discussions.

To hear of an upcoming release of a new setting and ruleset for Frostgrave was thrilling. To find out I had a copy waiting on me made me ecstatic. To discover an additional book — I nearly swooned. To realize I was going to be bombarded by one of “Those Words” because of the inherent setting, well… guess I needed the practice.

The release of the ruleset for Frostgrave Ghost Archipelago is to be supplemented by a collection of short stories, “Tales of the Lost Isles,” a set of nine short stories and one in-game scenario totaling around 300 pages of swashbuckling wonder. The line-up for the authors is impressive. If you’ve read anything from a variety of sci-fi and fantasy settings, you are probably going to recognize at least a few of the authors. This familiarity is going to give you a variety of styles and tones to delve through, while leaving open the potential to expose you to someone you may not have previously read.

The stories are self-contained, and most are easy to parse. One author has a way with words that makes my head spin a little, and I forgot the beginning of the sentence by the time I got to the end. Others flow more smoothly from beginning to end.

The only thing that connected each story was the setting, the fabled Ghost Archipelago. A swath of the map that draws anyone looking for fame, fortune, or power. This draws a variety of swashbucklers, magic slingers, souped-up super-types, and the poor shmucks that get hired to do whatever the previous three don’t want to do. The folks that get drawn out to explore the Ghost Archipelago are drawn from the world of Frostgrave. Even if you aren’t already familiar with that universe, you’ll find analogues to knights, crusaders, general fighters, thieves, and wizards. Whether or not you have spent time in Frostgrave and its inhabitants, it is incredibly accessible. Almost any fantasy fan will find ways to connect to the environment and its motley inhabitants.

Unfortunately, that familiarity can be one of its downfalls as well. It is so easy to find connections that it can begin to feel lackluster. When looking at the world, a fighter is a fighter and a wizard is a wizard, and the special wrinkles that make the setting matter get a little lost. The collection is an attempt to shed some light into this world, where many tabletop gamers throw warbands against each other in a constant struggle for power. The authors all have the power and ability to invoke certain images to mind with their writing, and they’re mostly very effective. There are specific examples I still visualize and wouldn’t mind seeing a scenario written for them. One of my favorite moments in the collection is a character receiving a letter from someone in a location from the original Frostgrave collection. More of those tie-ins would have made for a stronger collection, and there wasn’t much else that pulled this series into line with the greater world. Absent that connection, everything felt isolated. This will be fine for folks not looking for incredible depth in that world, but for those who are seeking more, you might find yourselves disappointed. That said, because there isn’t much world content for this mysterious place, fans will probably be willing to take whatever they can get.

One of the series’ strengths is its variety of perspectives. You are not always following the most obviously powerful person in the pack. You also get to see a variety of magic users you might recognize from the rulebook. Although I was disappointed they didn’t get to shine a bit more. Out of the 5 “branches” of magic possible, some felt over-represented and some didn’t get much of a spotlight. It seemed that the writers were trying to represent every possible type of participant as best as possible, and they were effective.

Overall though, it’s a series of quick, pulpy, pirate-filled adventures focusing on a variety of characters from this universe. For fans of Errol Flynn movies, Indiana Jones types, scrappy seat-of-their-pants survivors, or any similar specimen, this is a worthwhile and entertaining read.


Facebooktwittergoogle_plusredditpinterestmail

Easy Caribbean Board

How-to guide for making a Caribbean themed Wargaming table.

When it comes to wargaming tables, there is not much in the way of readily available Caribbean-themed or 16th/17th century pirate-themed terrain or play mats on the market so I decided that I was going to make my own to be used with my upcoming game called Skull and Brimstone.  However, after attending Adepticon 2017, Nick and I found this AMAZING game called Blood & Plunder by Firelock Games that this will work perfectly for as well.
Blood & Plunder is a historical pirate game set in the Golden Age of Piracy.  If you haven’t checked it out, please do so here:  http://www.firelockgames.com/
They are a team of great folks making an amazing game that keeps growing and growing.  
If you are looking for Skull and Brimstone (a fantasy pirate game), you will have to wait a little bit.  I am currently in the talks with some publishers to help it get released but I am looking for playtesters if you are interested.  For playtesting, email me at hammerfistgs@gmail.com. 
Ok.  I have babbled on long enough.  Let’s make a table!
This is going to be very short and simple so there is not much for a drawn-out post.
Step One:  Gather your paints.  
Most of this is spray paint but you will need a few craft paints as well for this.  Other tools needed are a sponge, a paint brush used for miniatures (size 2 works just fine), and some acrylic floor shine.

The paints are Rust-Oleum Satin Lagoon, Rust-Oleum Satin Oasis, black spray paint, Rust-Oleum Satin Nutmeg, and Rust-Oleum Satin Cinnamon (not pictured).  For the regular paints it is Apple Barrel New Shampoo and Apple Barrel Burnt Umber.  The picture below it is the floor shine product used in the later step.

Step Two:  Tone down your board.
Take your table pieces, in this case thin plywood, and tone it down with random patterns of black, nutmeg, and cinnamon until you cover a good portion of the board.  Let it dry.

Step Three:  Spray the Lagoon Color.
Keep your spray even and consistent.  You want to cover any exposed wood and leave only a small hint of the tones you laid down to show through.  Let it dry.  You may need to repeat this step a few times until you are happy with it.

Step Four:  Spray the Oasis Color.
This is a quick and random layer of Oasis blue that will help highlight the board.  I did this by erratically waving the spray can about for a few seconds in each burst.  It is important to keep the can moving so you do not lay down a totally opaque spot on the board.  Let it dry completely.

Step Five:  Paint in details.
For this step I used a small mix of green and brown to create what could look like water vegetation or schools of fish.  Simply mix the paint to your liking and then add small swoops to the board in whichever patterns you like until you are happy.  Once they are laid down with the green/brown mix, go over it again with just the green, laying the green over the swoops you put down.  Let it dry.

Step Six:  Apply the acrylic wash.
This step is going to be 5 parts acrylic floor wax to 1 part green paint.  You should have a milky consistency like this:

Using the sponge, apply the wash to the board.  to get a variance, after applying the first coat of the wash, go over it again with more wash in a broad, sweeping motion with your whole arm.

This may take a few coats to get the consistency you like.  You do not need to let the coats dry in between.  Just give the coats a few moments in between to cure a bit.

Once this is done, let the board dry for 30 minutes to an hour and you are all set!

Hopefully this helps you make your own board.  You will find that the dry time between steps takes longer than the actual paint application.

Until next time,
-Tim

Facebooktwittergoogle_plusredditpinterestmail

On iTunes

Just a quick update to let you know we have gotten the word and we are now available for subscribing to via iTunes!  YAY!

Next episode is Friday and we are going to have a couple of people on the show as guests!


– Nick

Facebooktwittergoogle_plusredditpinterestmail