


The paints are Rust-Oleum Satin Lagoon, Rust-Oleum Satin Oasis, black spray paint, Rust-Oleum Satin Nutmeg, and Rust-Oleum Satin Cinnamon (not pictured). For the regular paints it is Apple Barrel New Shampoo and Apple Barrel Burnt Umber. The picture below it is the floor shine product used in the later step.
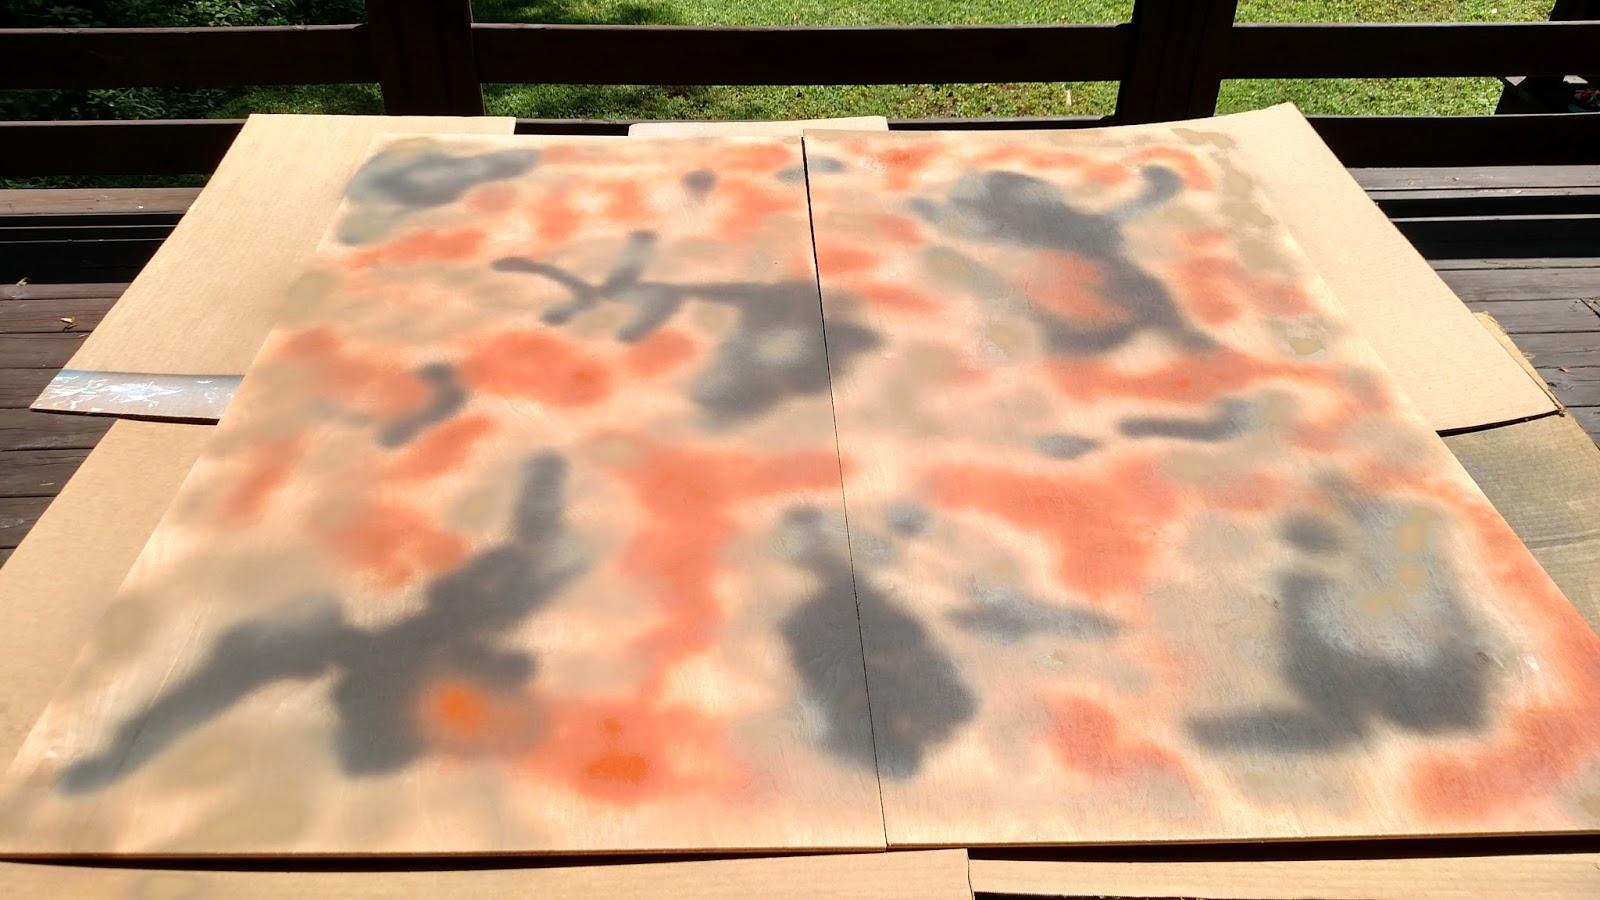
Step Two: Tone down your board.
Take your table pieces, in this case thin plywood, and tone it down with random patterns of black, nutmeg, and cinnamon until you cover a good portion of the board. Let it dry.
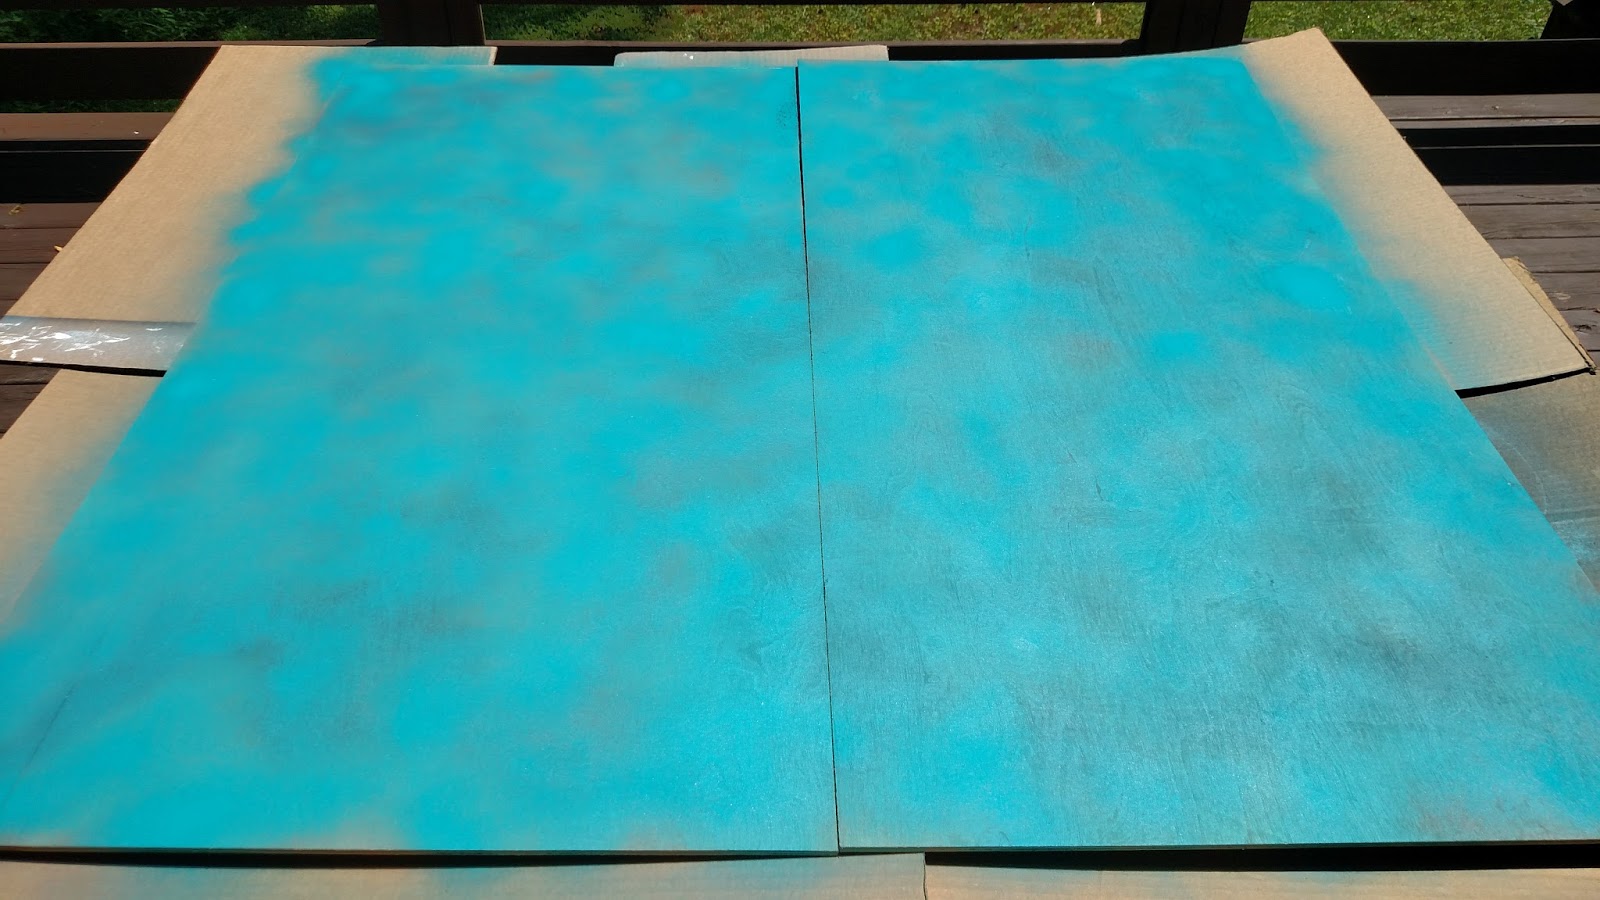
Step Three: Spray the Lagoon Color.
Keep your spray even and consistent. You want to cover any exposed wood and leave only a small hint of the tones you laid down to show through. Let it dry. You may need to repeat this step a few times until you are happy with it.
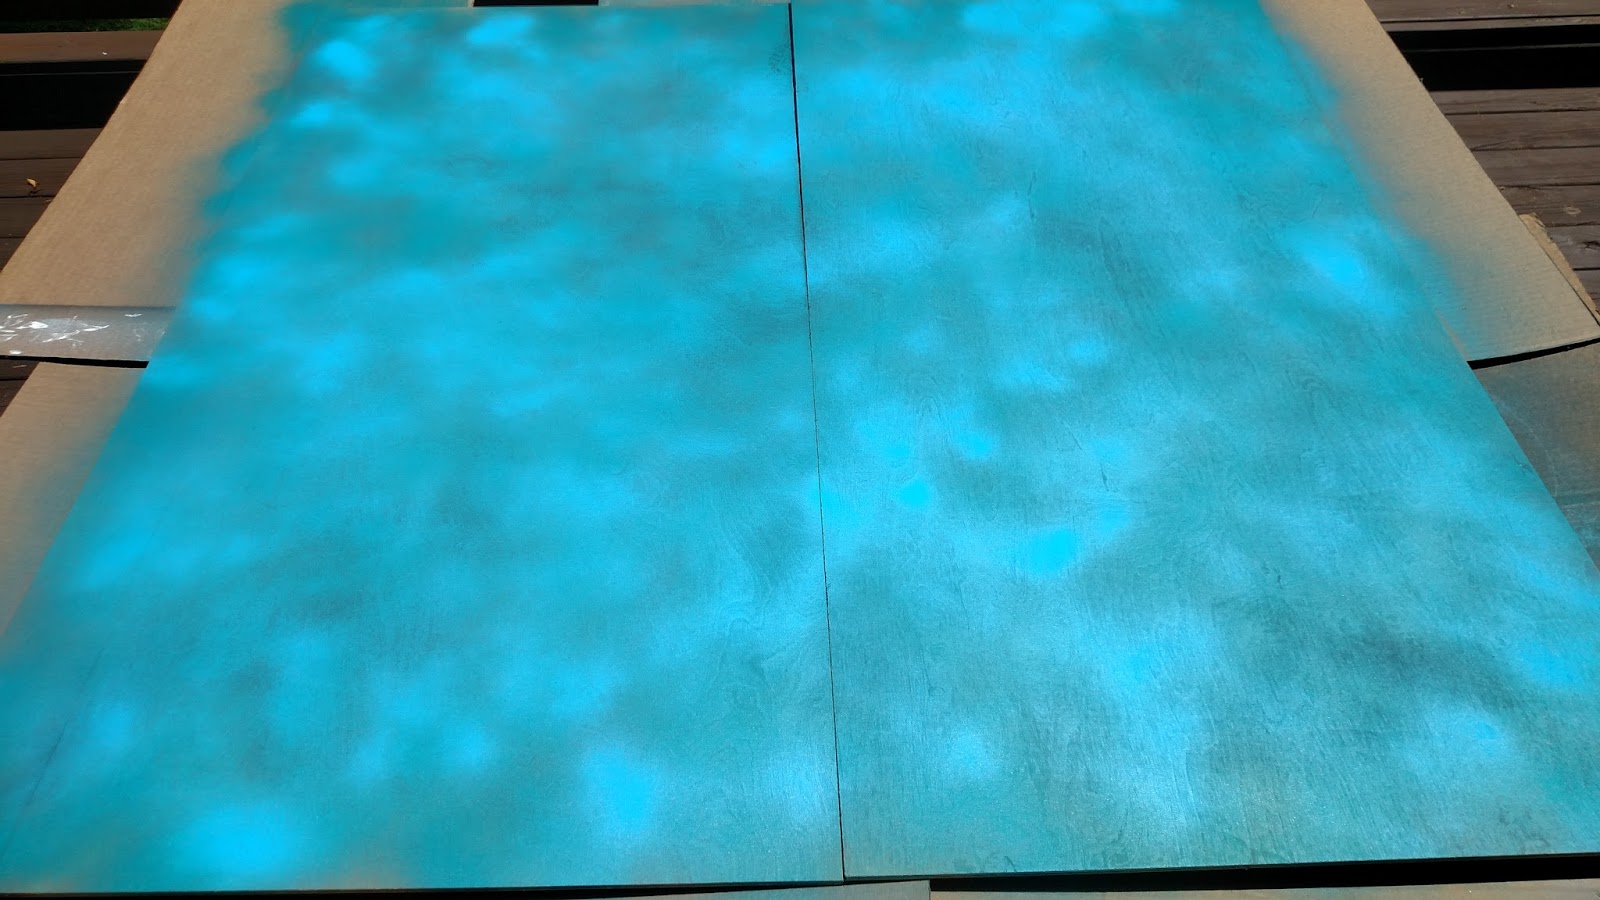
Step Four: Spray the Oasis Color.
This is a quick and random layer of Oasis blue that will help highlight the board. I did this by erratically waving the spray can about for a few seconds in each burst. It is important to keep the can moving so you do not lay down a totally opaque spot on the board. Let it dry completely.
Step Five: Paint in details.
For this step I used a small mix of green and brown to create what could look like water vegetation or schools of fish. Simply mix the paint to your liking and then add small swoops to the board in whichever patterns you like until you are happy. Once they are laid down with the green/brown mix, go over it again with just the green, laying the green over the swoops you put down. Let it dry.


Step Six: Apply the acrylic wash.
This step is going to be 5 parts acrylic floor wax to 1 part green paint. You should have a milky consistency like this:

Using the sponge, apply the wash to the board. to get a variance, after applying the first coat of the wash, go over it again with more wash in a broad, sweeping motion with your whole arm.

This may take a few coats to get the consistency you like. You do not need to let the coats dry in between. Just give the coats a few moments in between to cure a bit.

Once this is done, let the board dry for 30 minutes to an hour and you are all set!

Hopefully this helps you make your own board. You will find that the dry time between steps takes longer than the actual paint application.
Until next time,
-Tim