
How-to guide for making a Caribbean themed Wargaming table.
Now that we have hammered out the water portion of the table it is time to tackle the land masses.
Just like the water portion, there is a lot of waiting time in between steps so this is not going to be done in a single day. Tools for this build are easy to come by so it will not require you to have a lot of expensive equipment to make this happen.
Here are the tools that you need:
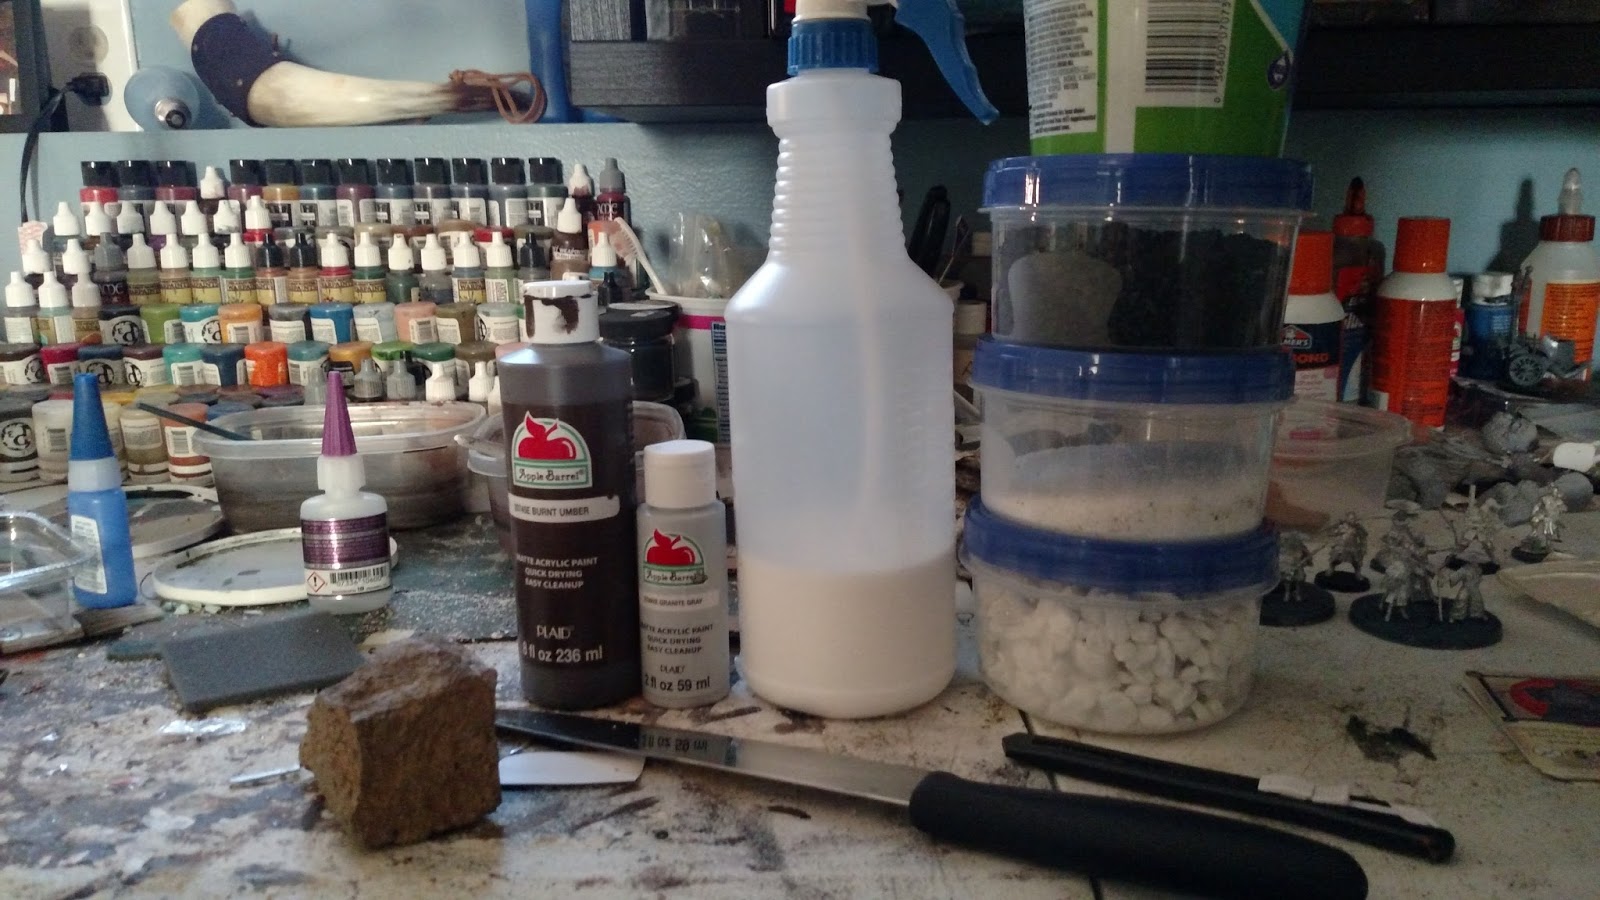
1: Large Paint Brush. The one I used was a house paint brush that is roughly 1 inch wide.
2: Hot Glue Gun. This will only be needed if you are going to be making taller rock formations.
3: Large, cheap, dollar store kitchen knife. Preferably serrated. This will be used for crude cuts in the foam.
4: Adjustable Razor: This will be used for cutting your basic land masses out of the foam.
5: Four 2ft x 2ft inch thick sheets of carpenter foam. This is typically blue or pink. I would highly recommend getting them in this size from your local hardware store instead of trying to cut them yourself without a big, expensive foam cutter.
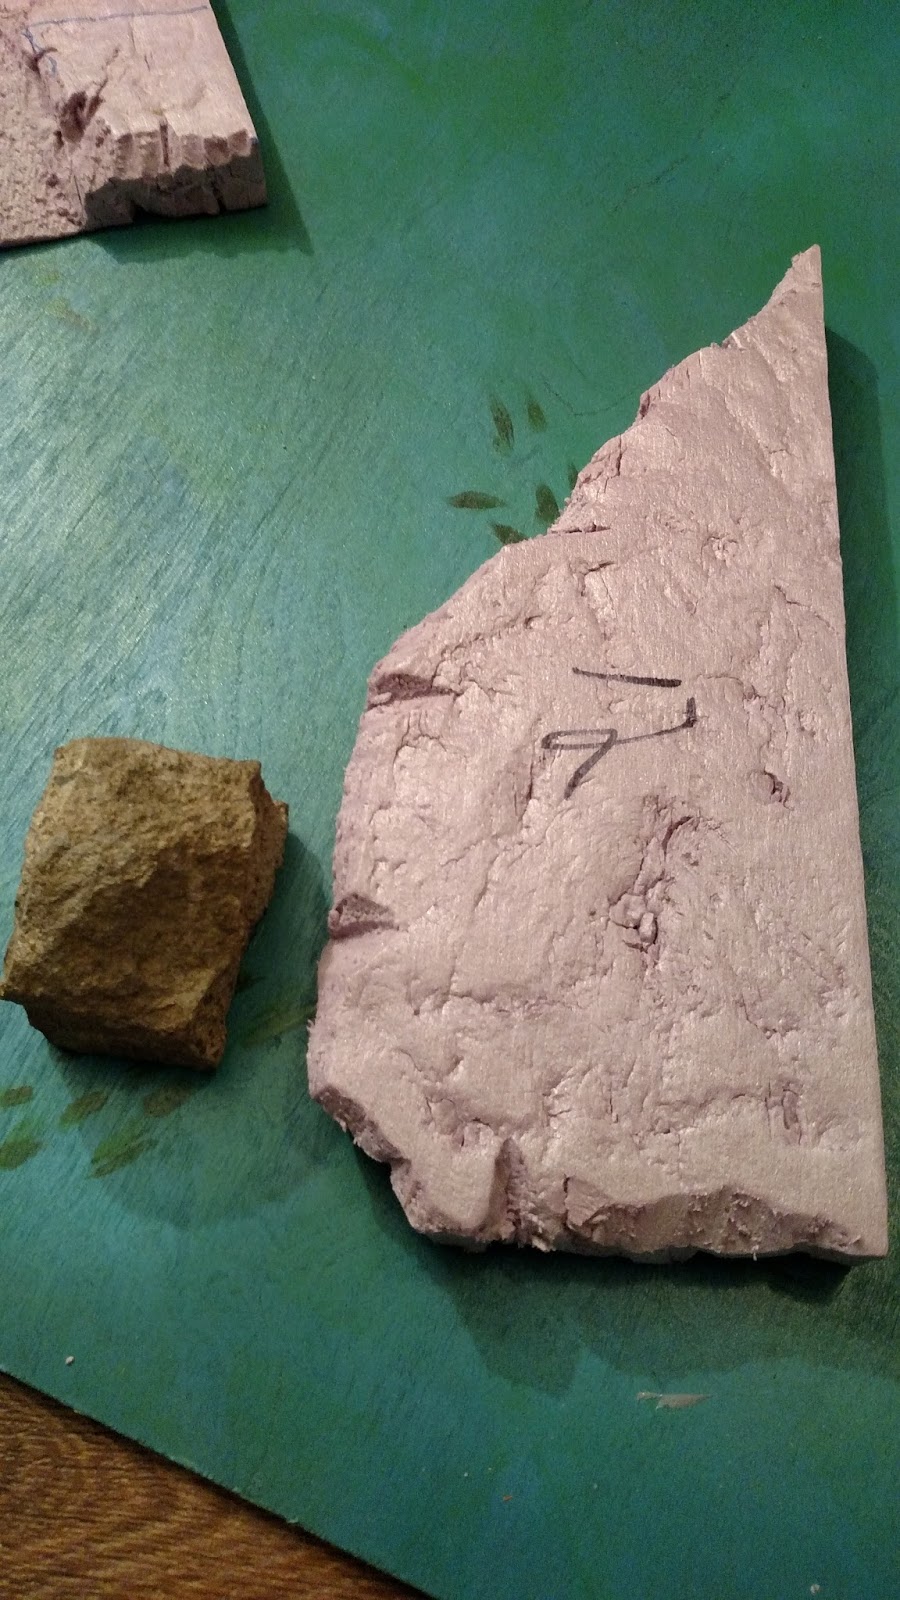
6: A textured rock about the size of your fist. Lava rock or a concrete chunk will work. This is actually the secret weapon of this whole build.
7: OPTIONAL. Assorted Small rocks.
8: OPTIONAL. Tiny rocks/ballast.
9: Sand.
10: Flock mixture. Since we are going to be making a Caribbean-focused board, cut open and mix about 8-10 cheap bags of tea into the flock. Plants tend to dry out in the heat quite quickly there.
11: Large bottle of acrylic Umber paint. I used Apple Barrel Burnt Umber from Walmart. I think it cost me about $2.50 for the bottle.
12: Small bottle of acrylic gray paint. Again, I used Apple Barrel paint. I got a small bottle of Granite Gray. Cost about 60 cents.
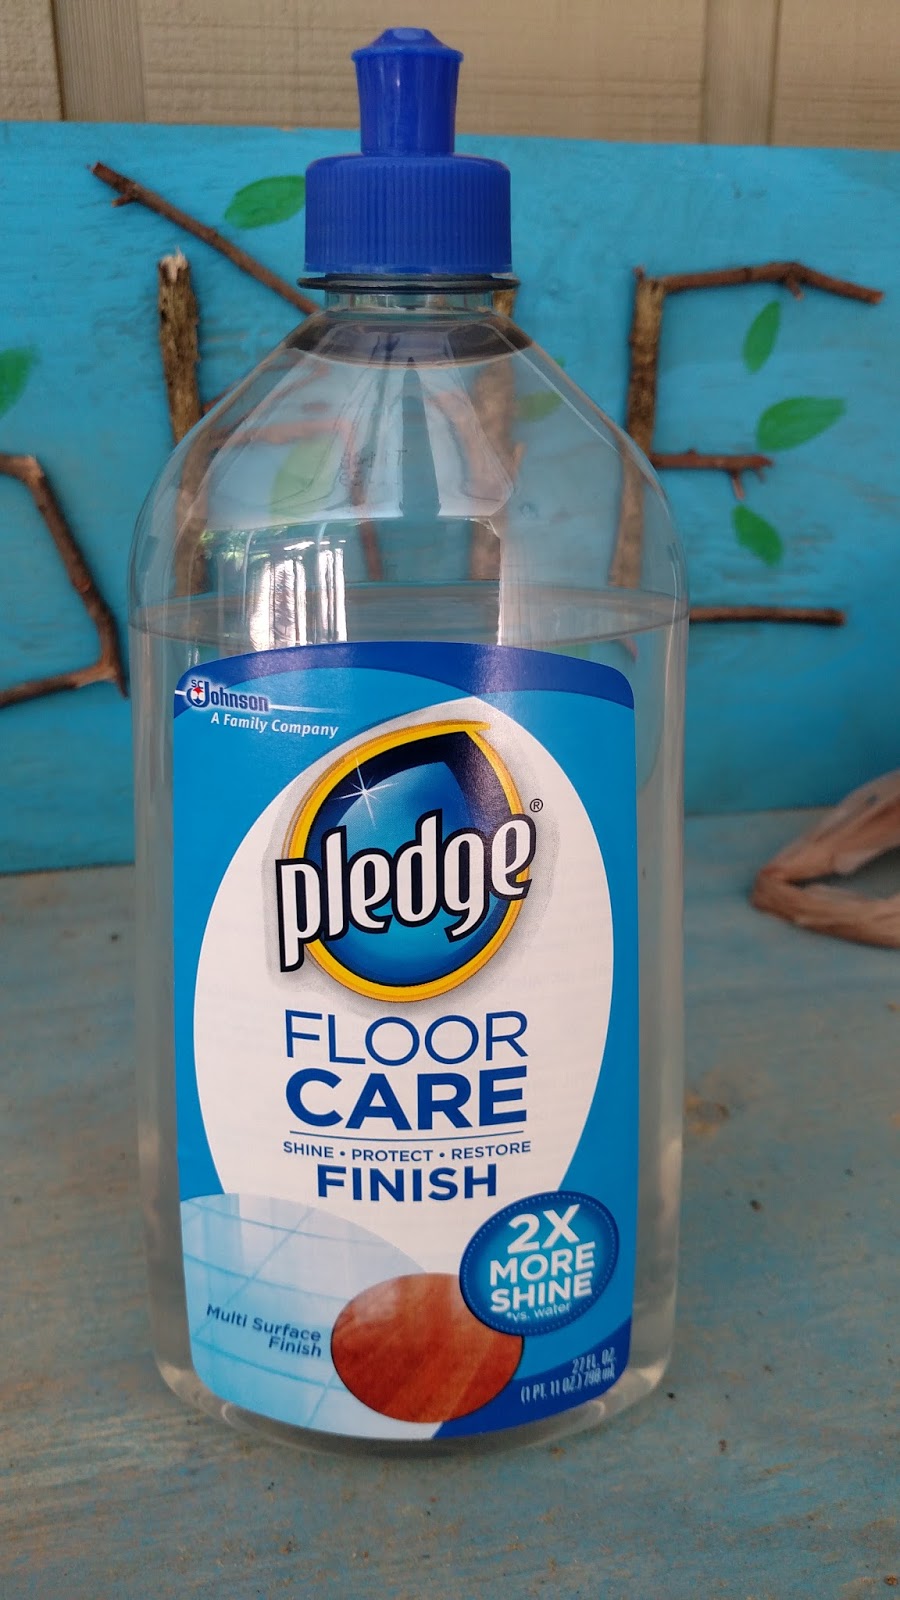
13: A 50/50 mix of white glue and water in a spray bottle.
14: OPTIONAL. Drywall filler to close gaps between layered sheets.
15: 80 grit sanding sponge.
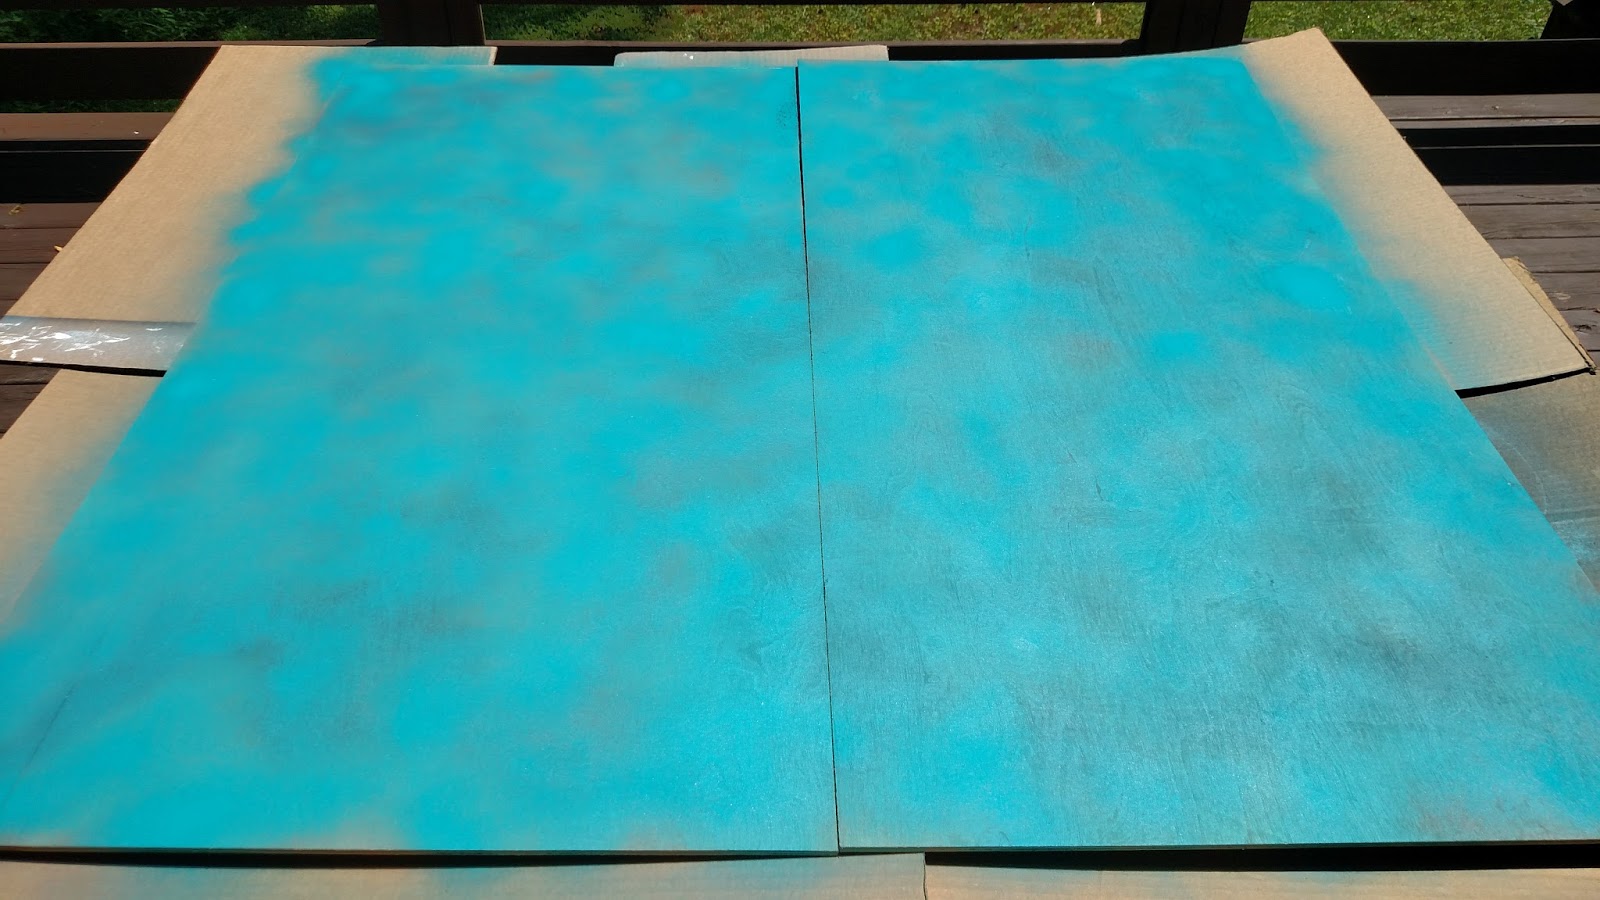
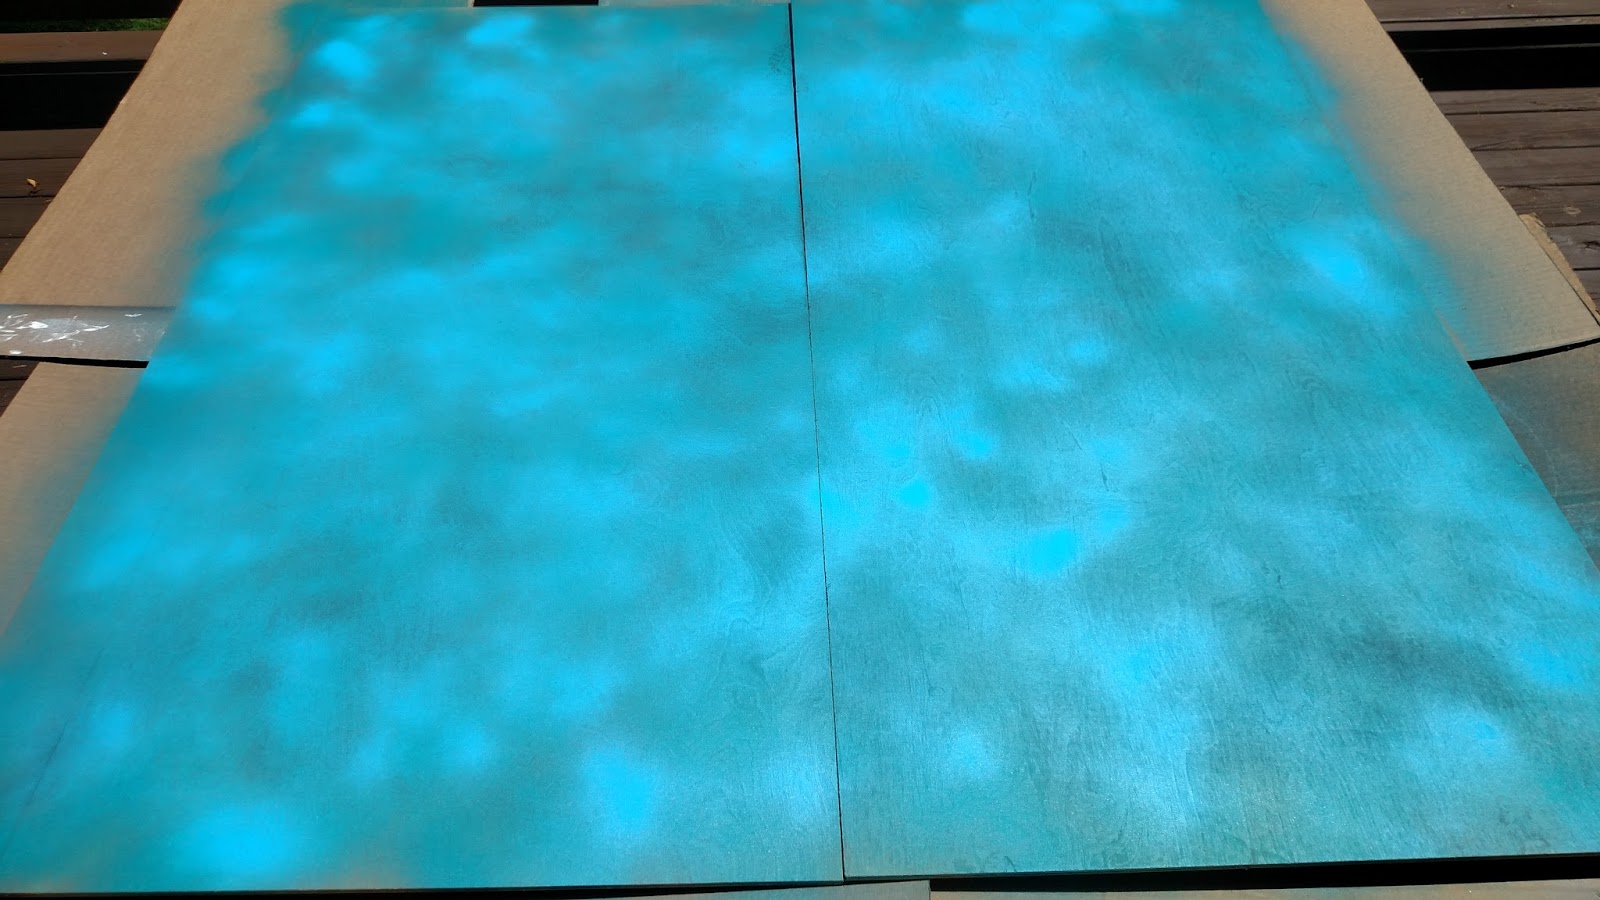
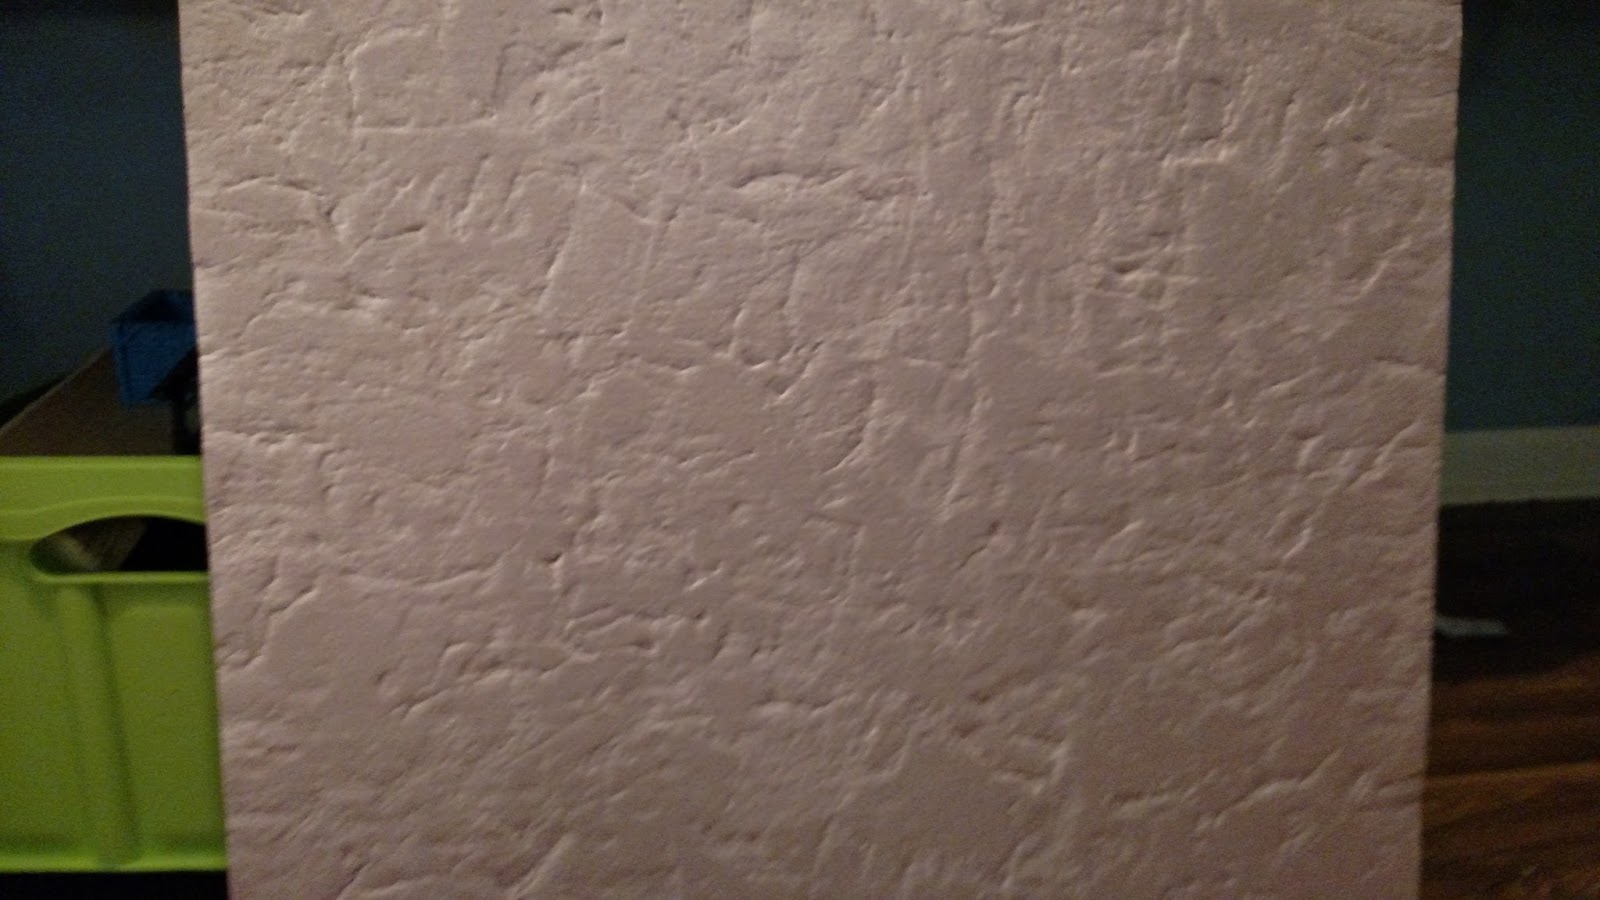
Step One: Set aside two large foam sheets that will not be cut.
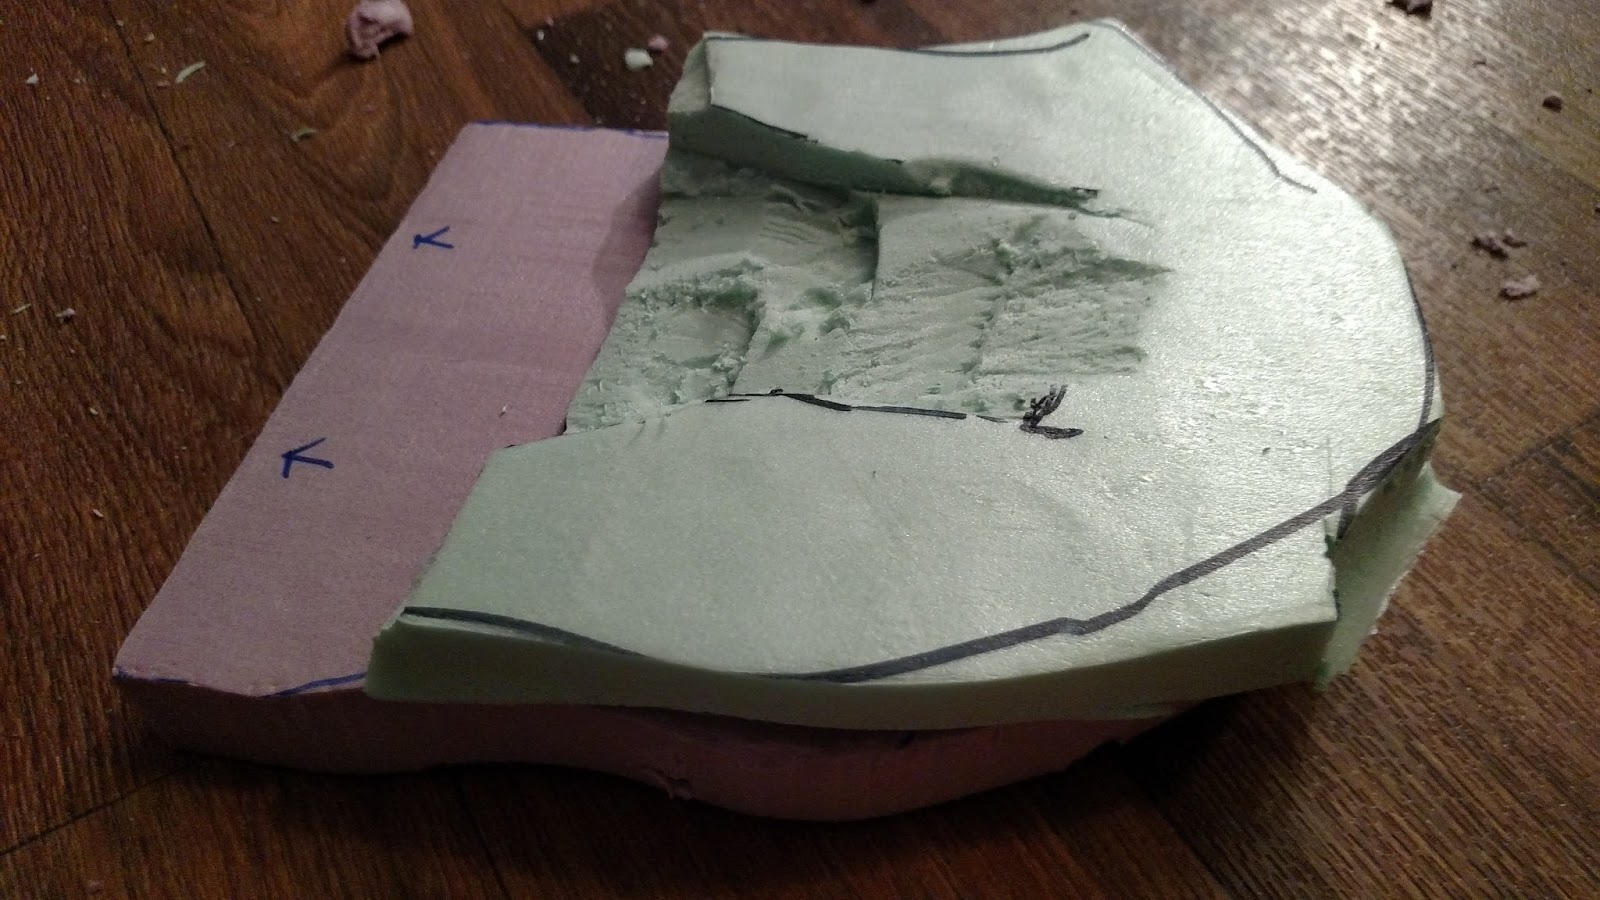
Before you set them aside, beat them unmerciful with the rock. Roll the rock around across the surface to create indentations. Don’t be afraid to smash the rock into the surface a few times to create some craggy indentations.
Step Two: Take the other two sheets and draw out your land shapes.
For this part you will want to use the flat edges as the foam as your starting point. From each sheet, you should make one 24 inch piece, two 12 inch pieces, three 8 inch pieces, and four 6 inch pieces (those measurements should be along the FLAT edge). Once that is done, go head and cut out your basic land shapes with the razor. If you have any excess foam, set it aside for later use.
Step Three: Choose which pieces will have beach sections.
For beaches, you want to make sure they have a gradual angle so miniatures can stand on them. A good rule of thumb for safe miniatures standing angles is at least a 3 inch angle for every one inch of height. That will make a gradual enough grade for miniatures to stand on without toppling over.
To do this properly, measure in three or more inches from the carved edge of your piece to make your angle stopping point. Then using the razor, start carving away at the angle. Once you have taken down a good bit, switch to the cheap kitchen knife to finish it off.

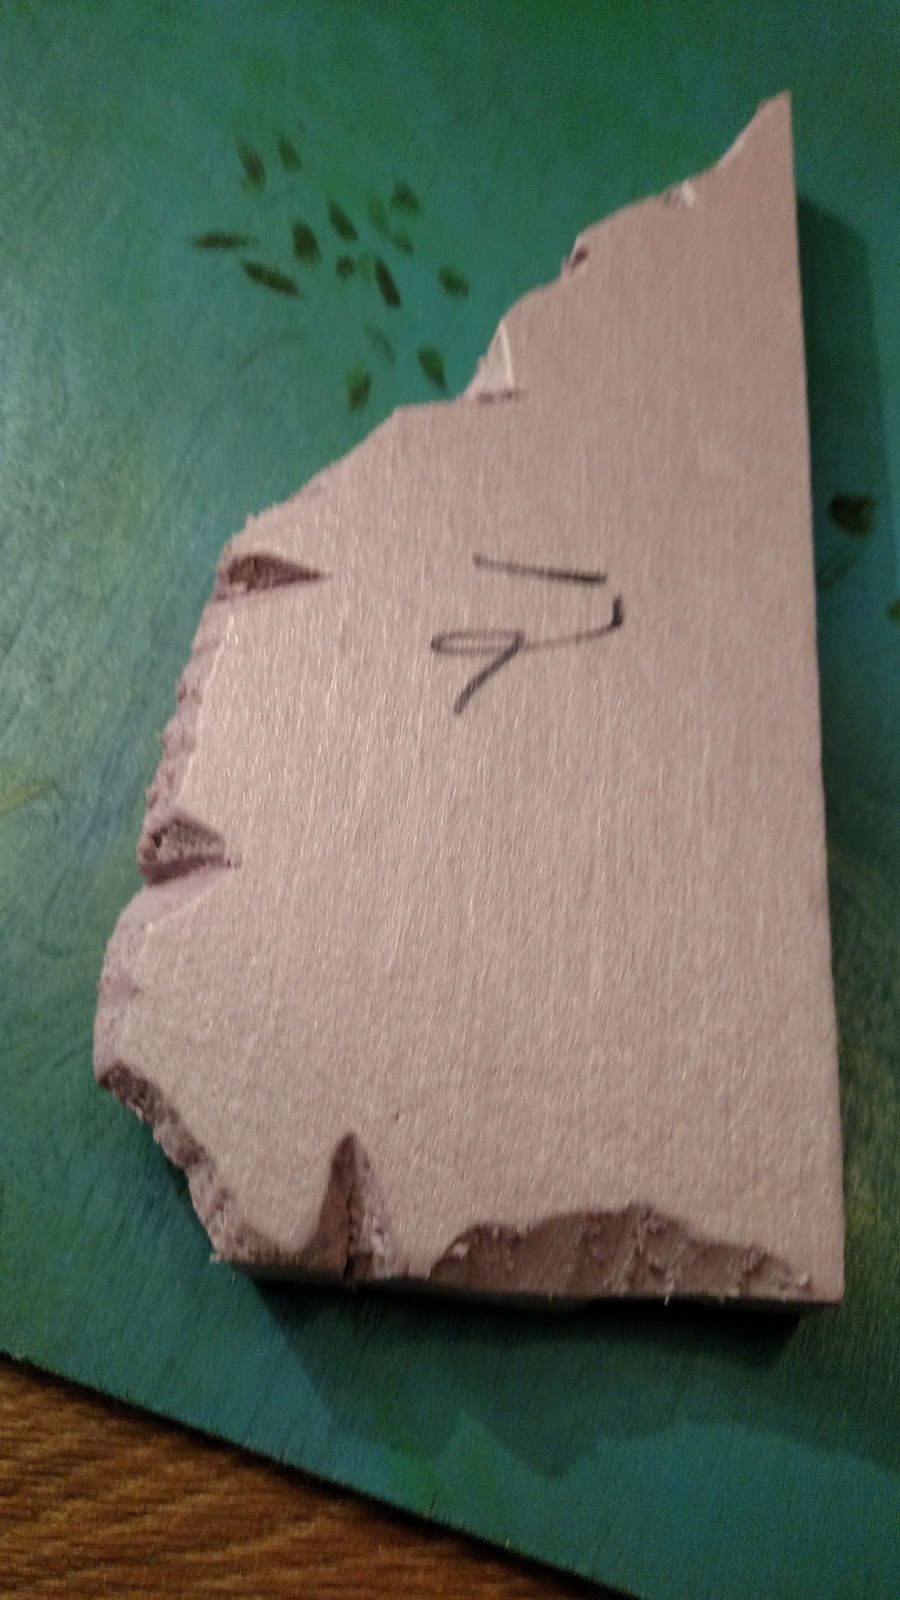
Step Four: Make your rocky outcroppings… well… rocky.
Using your cheap kitchen knife, use a combination of cuts and gouges to carve the rough edges of your rocky outcroppings. This can be done by sinking the edge of the knife into the foam at an angle and then tearing the section out, making a rough triangular shape. Do this at random to your edges EXCEPT YOUR FLAT EDGE until you are happy. Then, beat them unmerciful with your rock just like you did the large foam sheets. Treat them like they owe you lunch money. Do this to the edges as well (again, except the flat edge) so they also take the rock texture. If you are making a thicker outcropping with layers, then make sure that your angle cuts go into all of the layers to help make it look like one, large rock. Once the carving is done on layers, use the drywall filler to blend the seams together. You can easily do this by putting a bit on your finger and rubbing it onto the piece to get it to blend into the cracks. the filler can be smoothed or thinned with a bit of water applied to your finger and rubbed over the piece.
With this portion done, you may wish to add a bit of extra texture to the layered pieces to make it look a bit more realistic. Taking some white glue, place a dab down near the corners of the layers and place some small stones there. Once you get those in place, put more glue down and in between the stones and add the ballast. Let it all dry.


I will state it all again. LEAVE YOUR MEASURED FLAT EDGES ALONE! These are vital to help with the modular build.
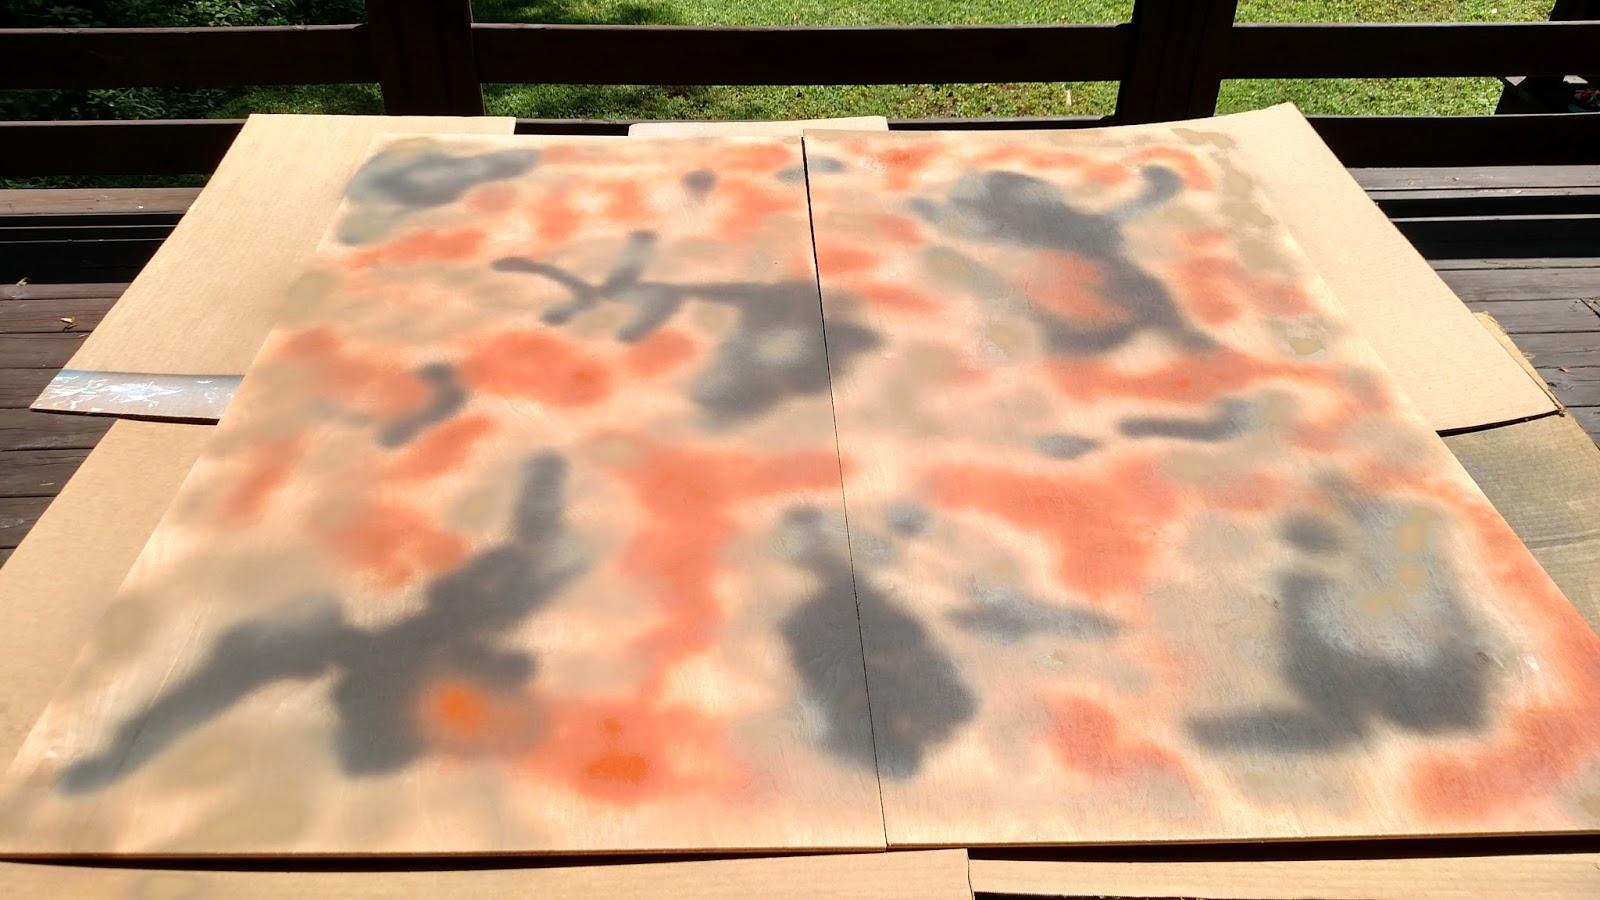
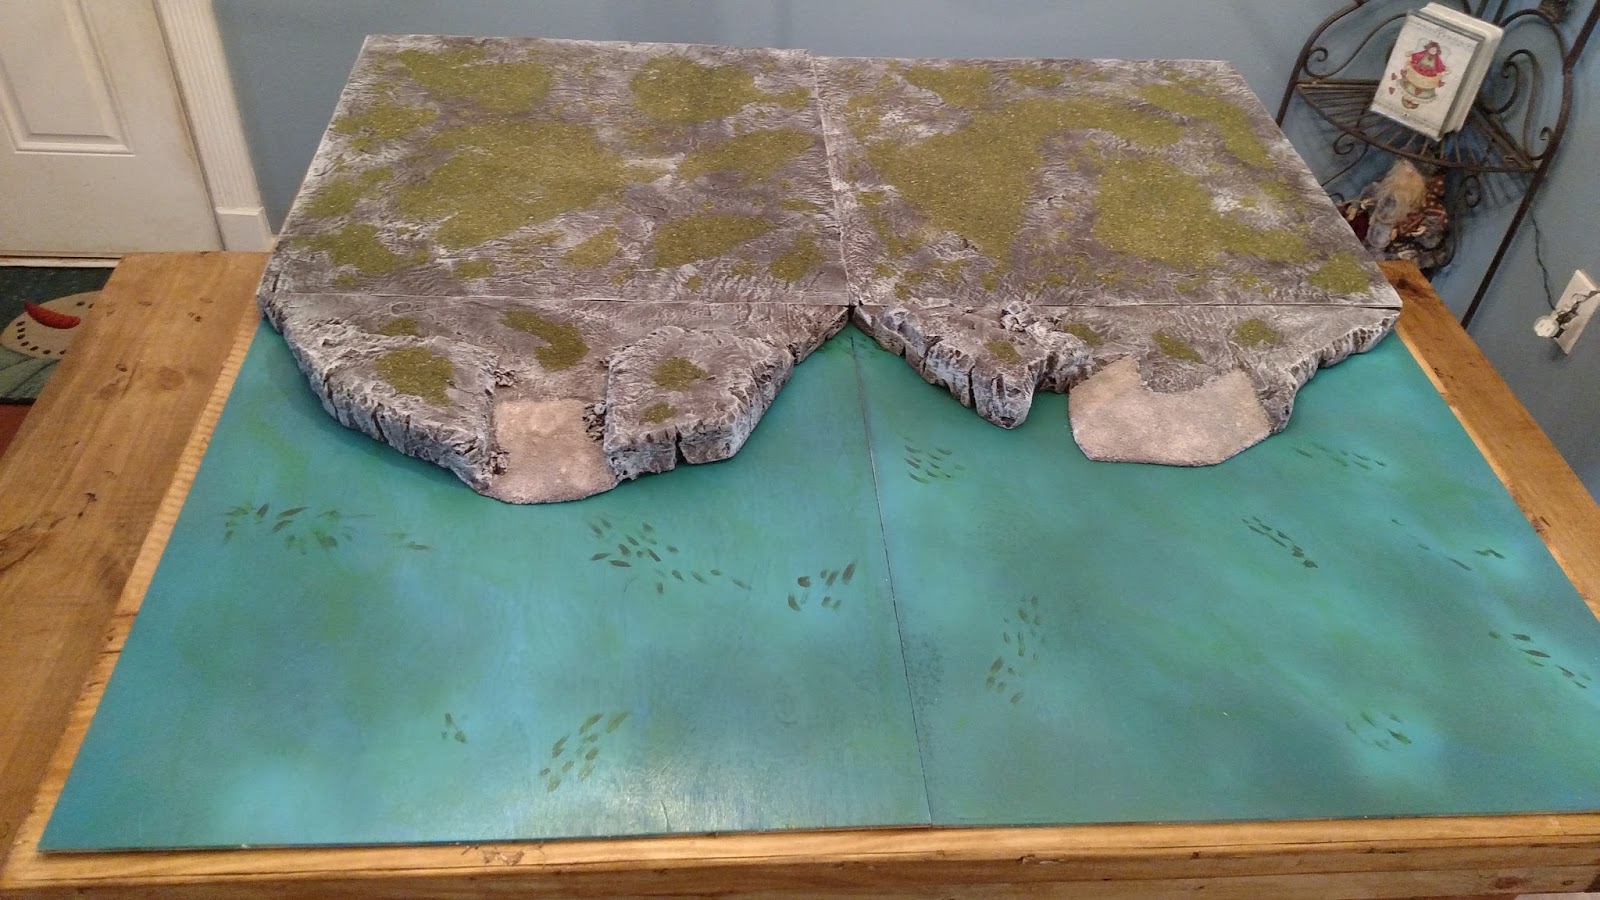
Step Five: Paint all of the rocky portions, flat edges, and large squares in umber.
Cover it all. Then, when dry, look for any exposed foam and cover it again. Then when that layer is dry, check for thin spots and any exposed areas you missed and paint them again. Repeat until it is all brown.

Step Six: Drybrush all of the rocky portions with the gray.
I hope we all know to drybrush at this point. If not, add a dab of paint to the brush and wipe it until there is barely any paint on the brush. Then using even strokes, apply it to the pieces, catching all of the raised portions of the rocky sections. This may take a few coats until you are happy.

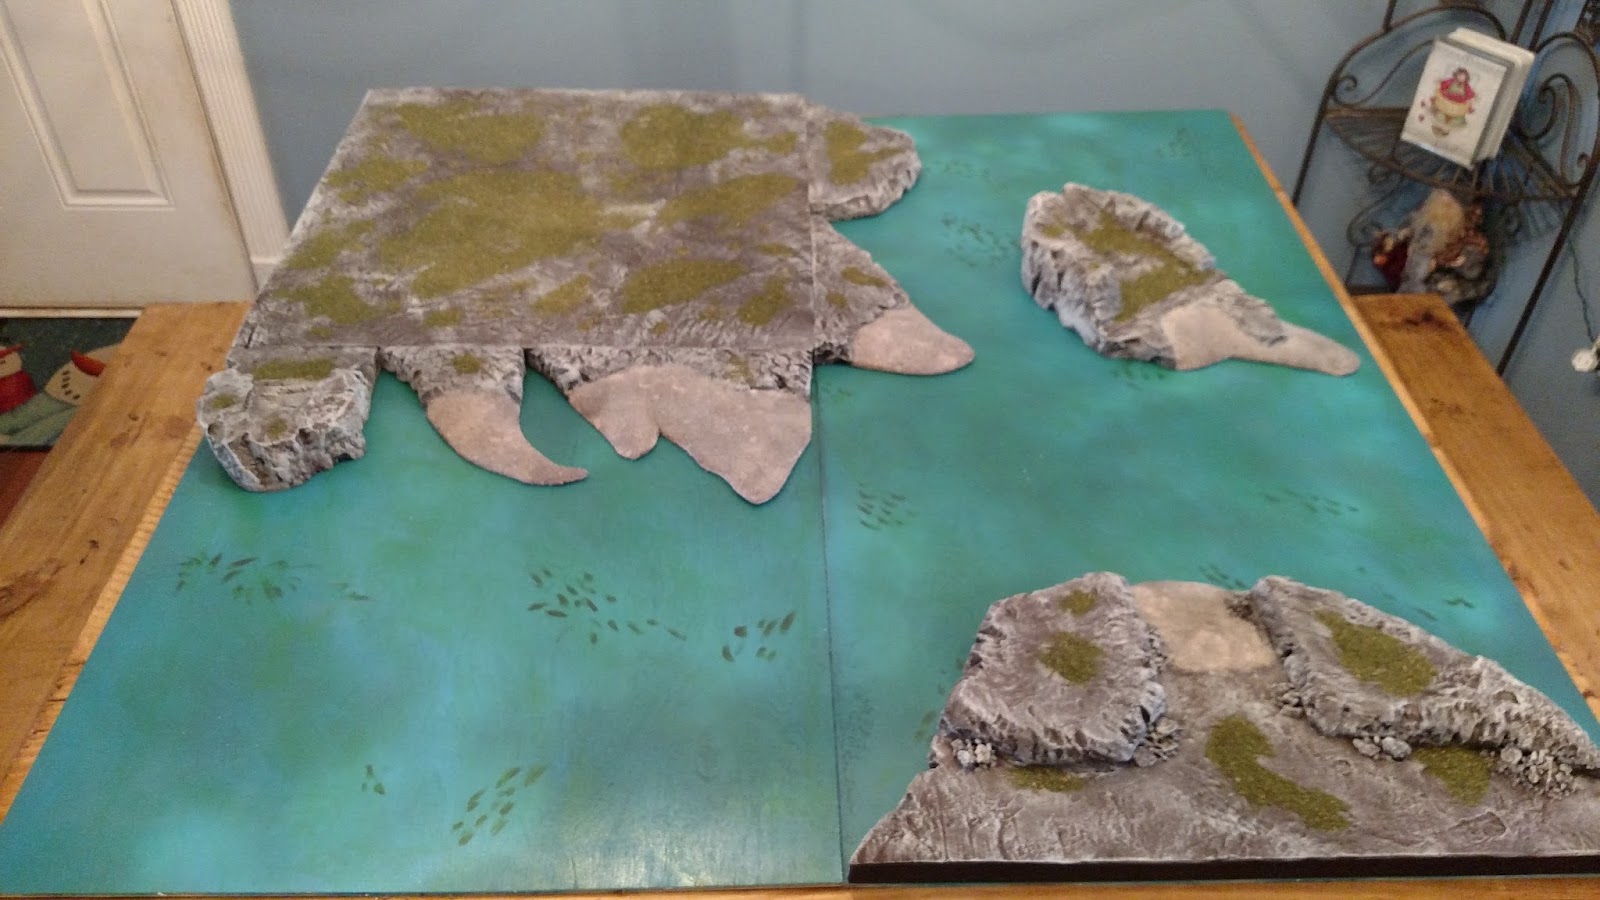
Step Seven: Apply Sand to the beach areas.
Using your watered down glue mix, spray/brush on a layer of the mix on the exposed beach areas; they should not have been painted at all at this point. Once the glue is down, apply a layer of sand. Let it dry. Come back and shake off any excess sand. Apply another layer of the glue mix to the beach area and add sand again. Let it dry. When you are done playing video games in an hour, come back and shake off any excess sand again. This time, apply another layer of glue and let it all dry. This will add a shell to help prevent the sand from flaking off.
If you are using actual beach sand then you are done with this portion. If you have a different color sand then you may have to apply your desired beach colors to the paint.

Step Eight: Apply flock to your pieces.
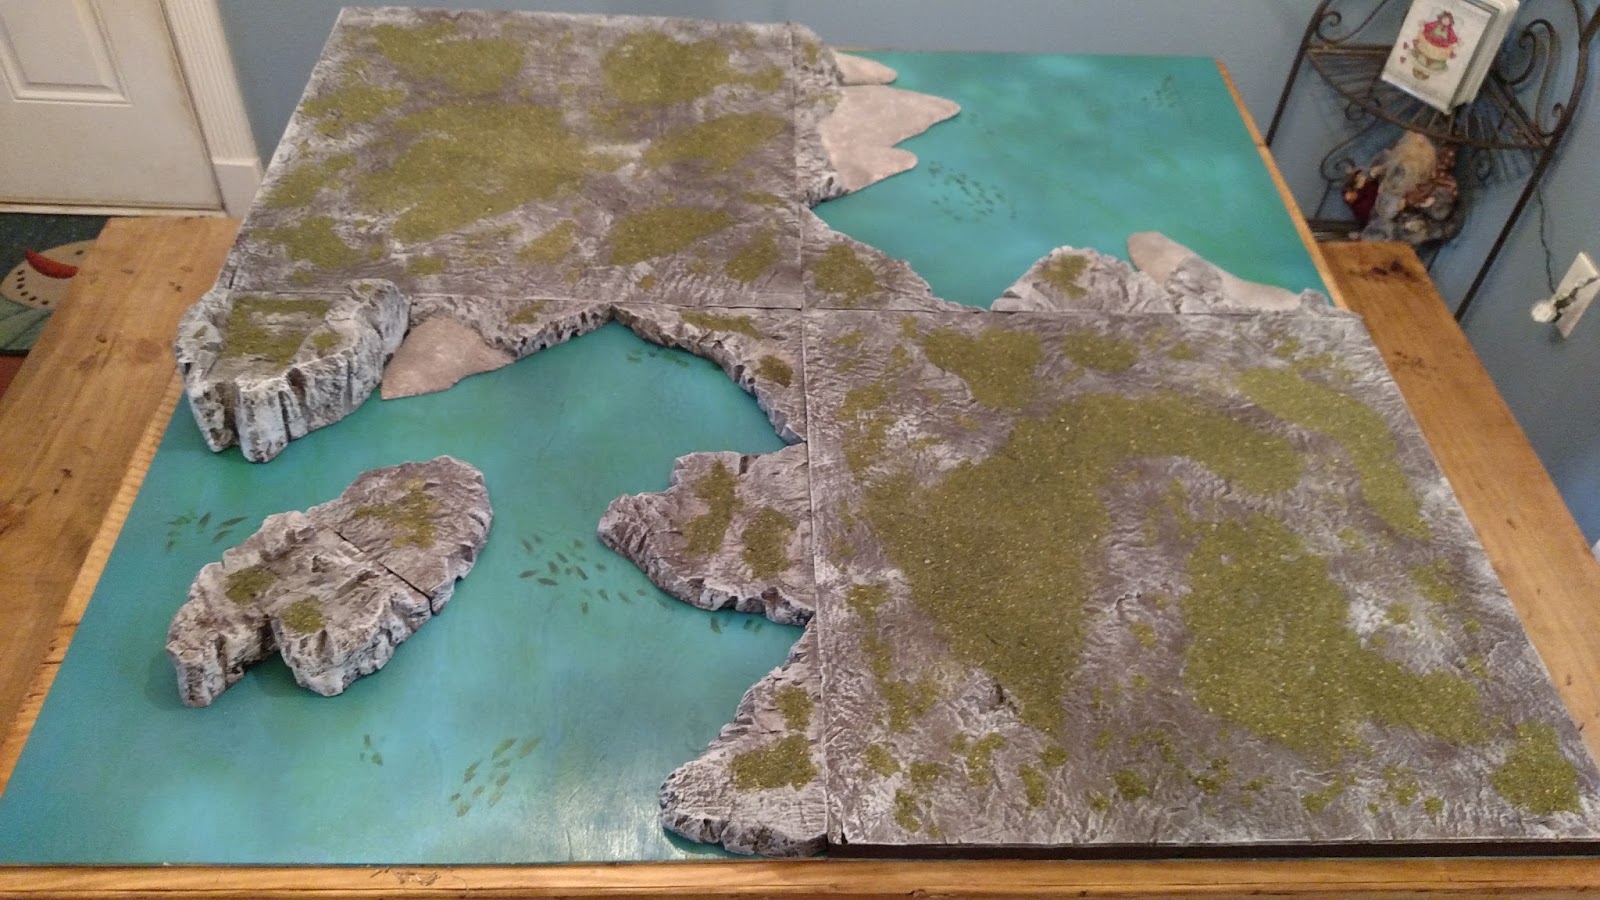
Spread your 50/50 glue mix in your desired areas to apply flock. On the large pieces you will want to cover about 75 to 80 percent of the board. On the other pieces apply it to your liking. Stay away from the flat edges so they will blend well with the other modular pieces.
Shake the flock mix down evenly across your glue. Let it dry. Come back and shake off any that did not stick. If you have thin spots, apply more glue and apply more flock. Let it dry. Come back and shake off any excess and save for later builds. Be thrifty and save it. Don’t be wasteful! Nobody likes a wasteful terrain maker.
Apply a thin layer of glue across the flock to seal it in. Do this gently so you do not peel off the flock. Let it dry.

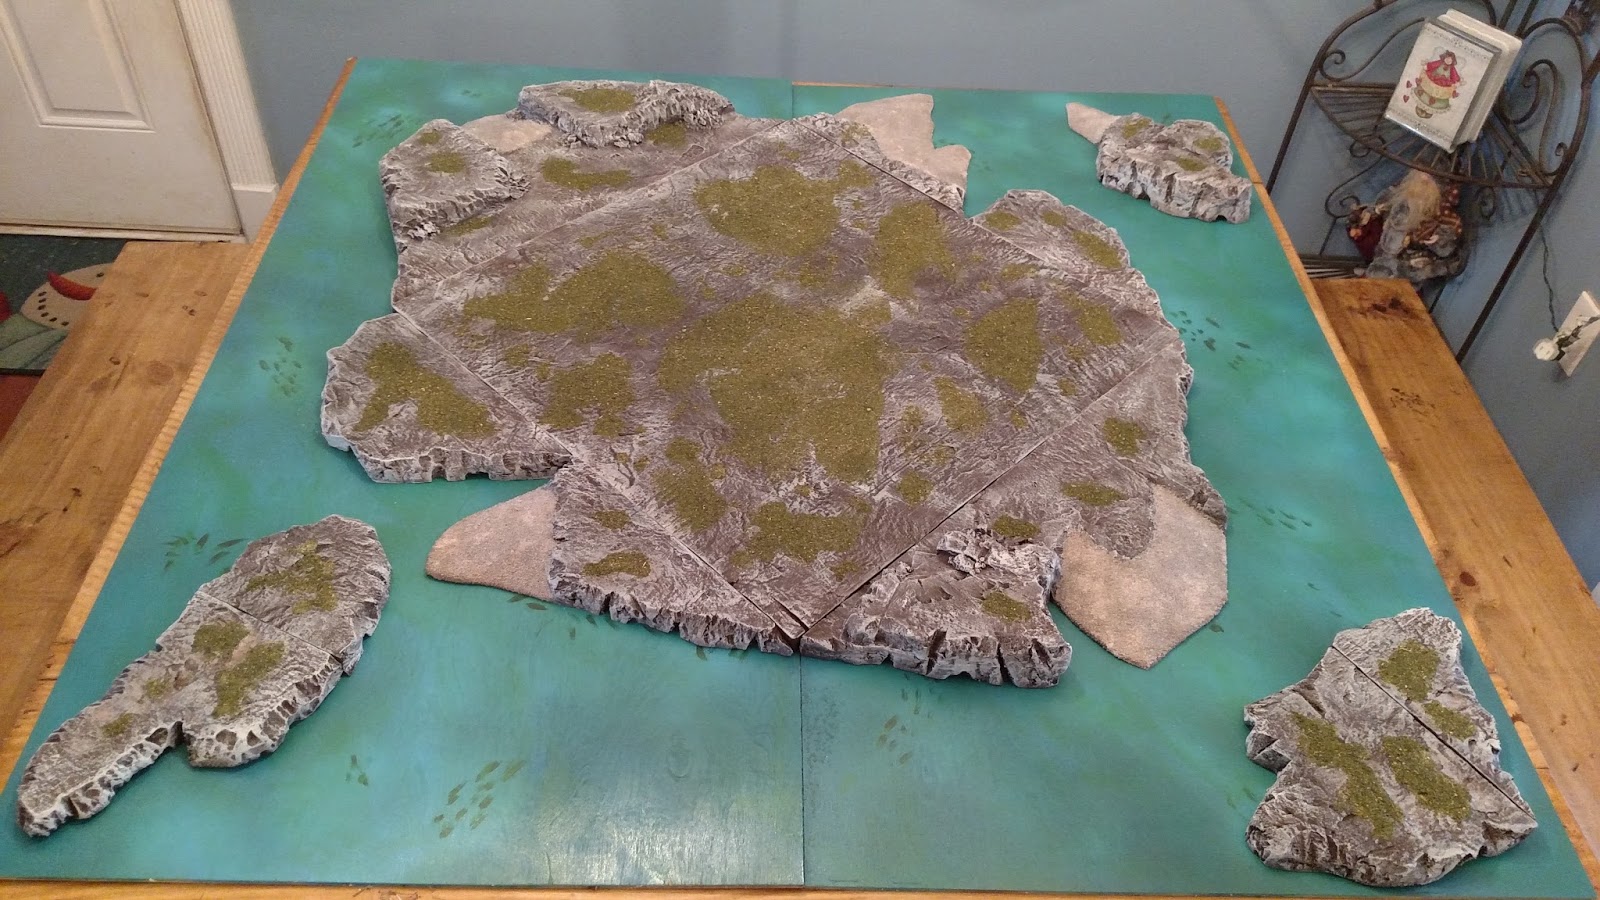
Congratulations! You now have your very own modular Caribbean amphibious table to use for your game of Blood and Plunder or Frostgrave: Ghost Archipelago! Now add some terrain to it and go and steal some treasure!!!
Until next time,
-Tim